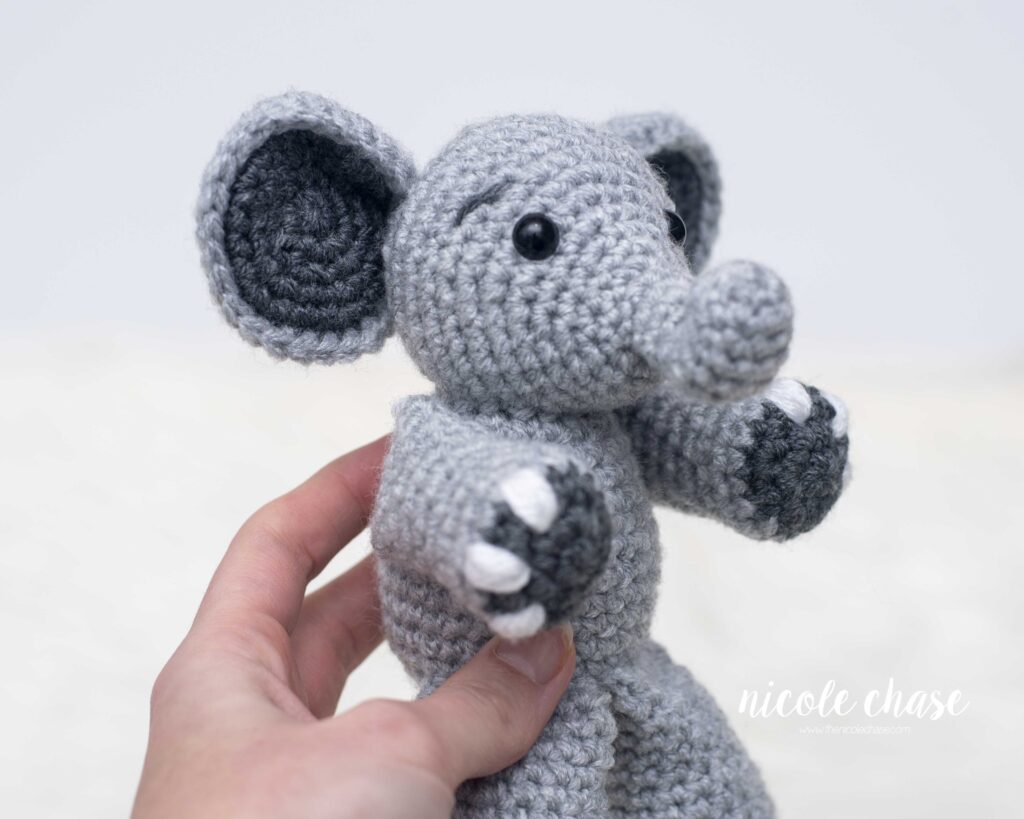
I’ve wanted to add a crochet elephant to my pattern collection for a while now. I’m so happy to share with you my latest design, Elliot the Elephant. This free elephant crochet pattern is such a fun project and looks great in a variety of yarns!
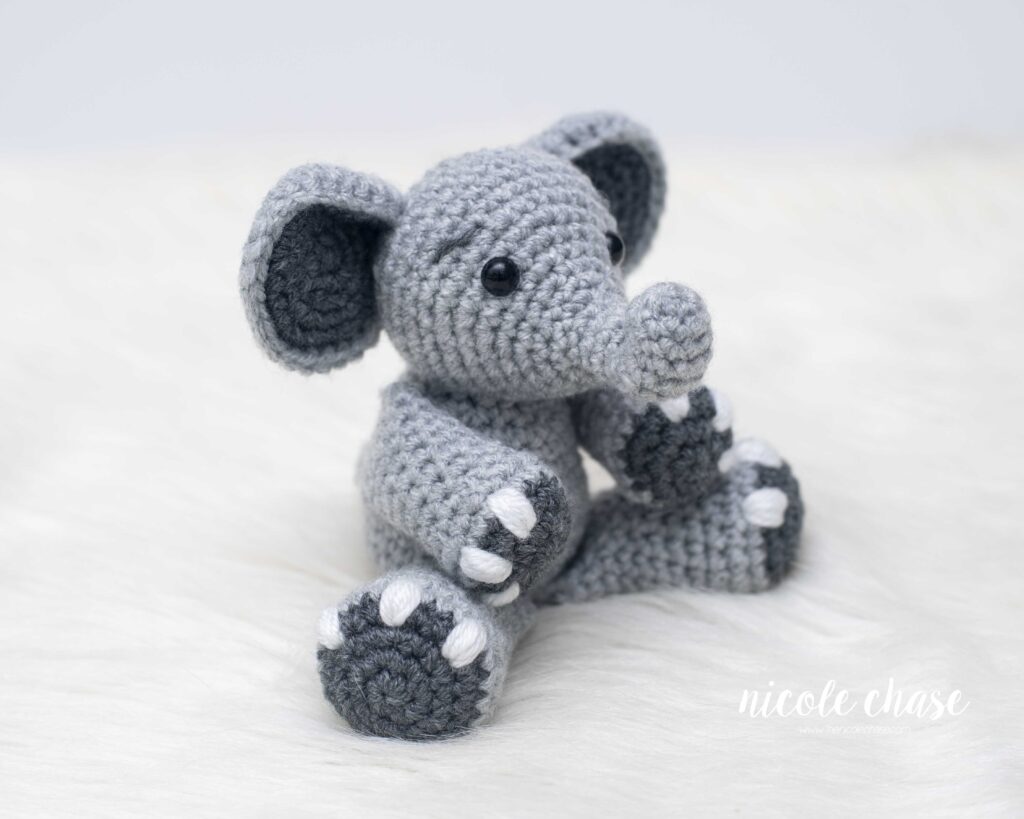
I would classify this free elephant crochet pattern as “advanced beginner”. It would be helpful to have had some experience with amigurumi before creating this project.
Pin this crochet elephant pattern on Pinterest.
Add this free elephant crochet pattern to your project queue on Ravelry.
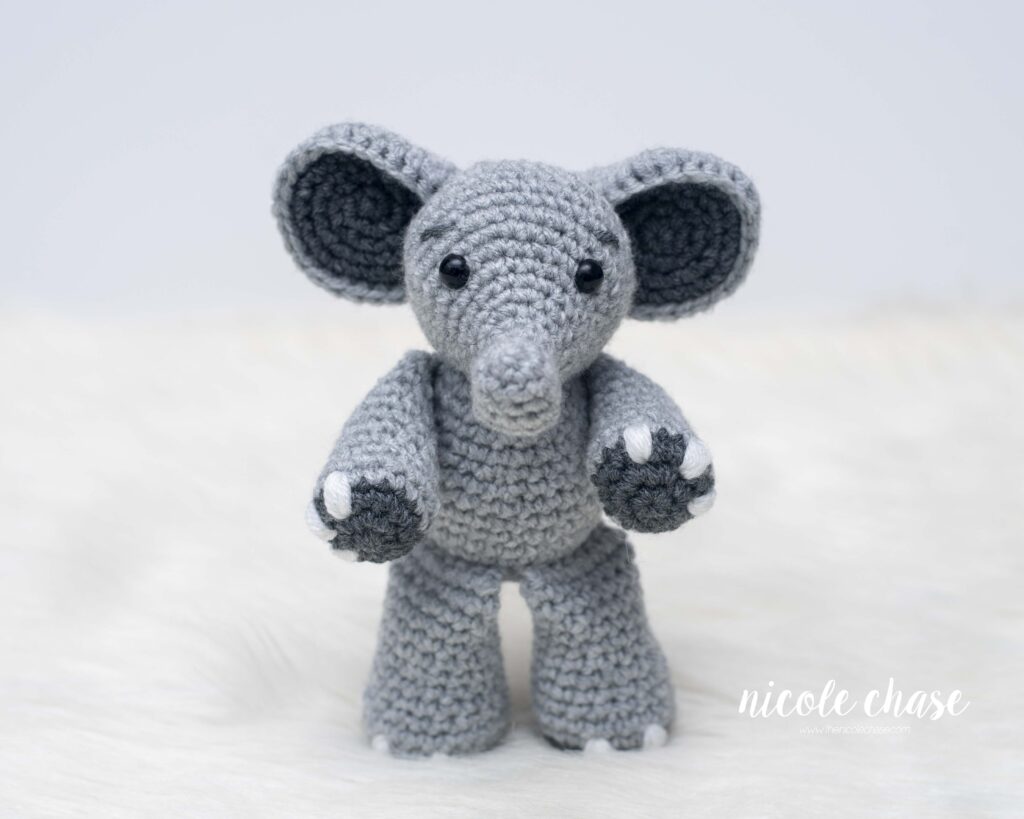
Free Crochet Pattern for Elliot the Elephant
Stitch Abbreviations
st = stitch
sl st = slip stitch
ch = chain
SC = single crochet
SC2tog = single crochet 2 stitches together (invisible decrease is recommended)
Special Stitches
SC2tog (using invisible decrease method): Insert hook into front loop of the first stitch. Insert hook into front loop of second stitch. Yarn over. Draw through the first two loops on hook. Yarn over. Draw through both loops on hook.
Notes
- Checking your gauge is not required for this pattern. Use a hook that is smaller than the size recommended for your yarn weight. This will ensure that your stuffing will not show through the stitches.
- All pieces are worked in the round. Use a stitch marker to indicate the beginning of each round.
- Invisible decreases are recommended. Please see “Special Stitches”.
- Safety eyes and noses pose a choking risk for babies; therefore, if making this toy for a baby, I recommend using yarn, felt, or embroidered details.
- Body, head, legs, arms, and trunk require stuffing. Stuff each piece as you work to ensure the piece is completely filled. Do not add stuffing to the tail or ears.
- See tutorial photos.
Pattern
Using 4.0mm (G) crochet hook:
Body
Using color A (shown as gray):
R1: Begin with 6 SC in a magic ring. (6 sts)
R2: 2 SC in each st around. (12 sts)
R3: *2 SC in next st, 1 SC in next st. Repeat from * around. (18 sts)
R4: *2 SC in next st, 1 SC in each of the next 2 sts. Repeat from * around. (24 sts)
R5: *2 SC in next st, 1 SC in each of the next 3 sts. Repeat from * around. (30 sts)
R6-11: 1 SC in each st around. (30 sts)
R12: *SC2tog, 1 SC in each of the next 3 sts. Repeat from * around. (24 sts)
R13-15: 1 SC in each st around. (24 sts)
R16: *SC2tog, 1 SC in each of the next 2 sts. Repeat from * around. (18 sts)
Cut yarn, leaving long strand for sewing. Fasten off.
Fill with stuffing.
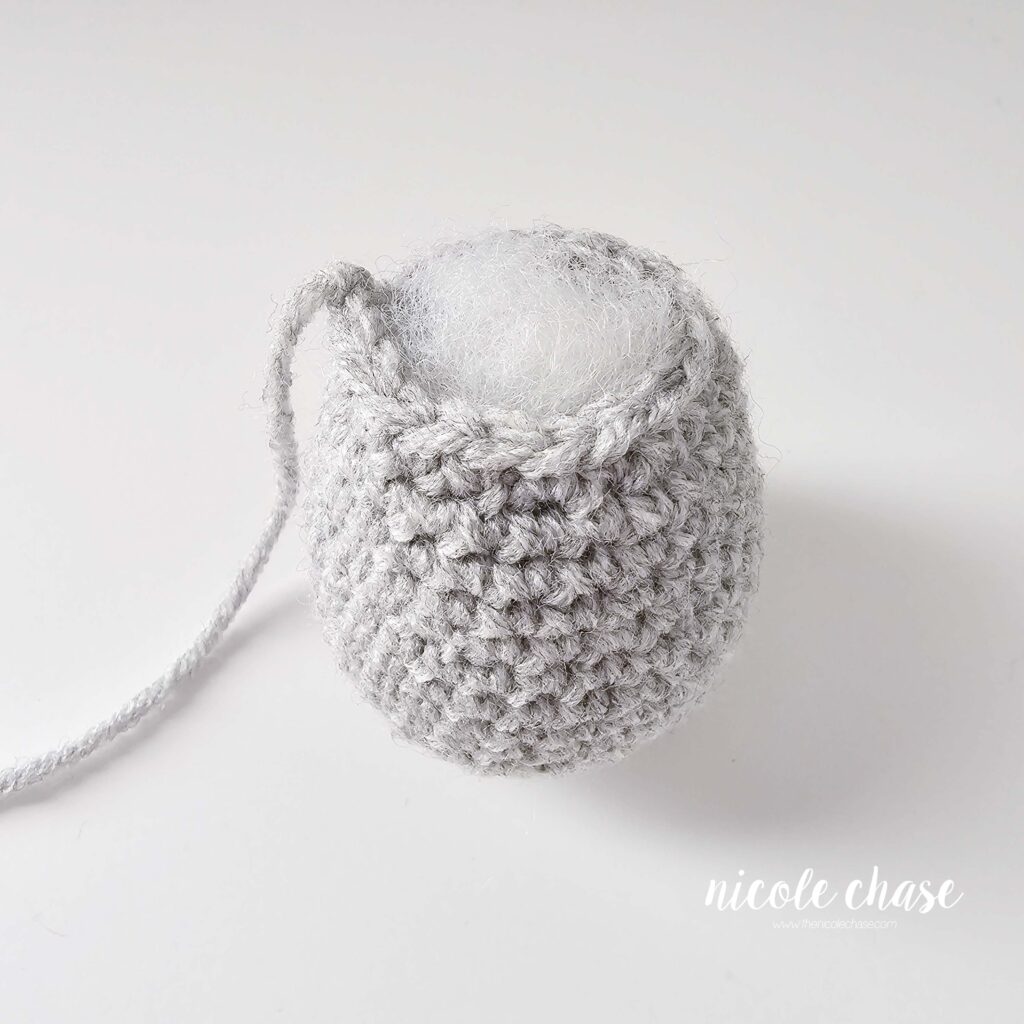
Trunk
Using color A (shown as gray):
R1: Begin with 6 SC in a magic ring. (6 sts)
R2: *2 SC in next st, 1 SC in next st. Repeat from * around. (9 sts)
R3-11: 1 SC in each st around. (9 sts)
Add a small amount of stuffing to the tip of the trunk, and only lightly stuff the rest of the trunk.
Do not fasten off. Move on to head.
Head
R12: *2 SC in next st, 1 SC in each of the next 2 sts. Repeat from * around. (12 sts)
R13: *2 SC in next st, 1 SC in each of the next 3 sts. Repeat from * around. (15 sts)
R14: *2 SC in next st, 1 SC in each of the next 4 sts. Repeat from * around. (18 sts)
R15: *2 SC in next st, 1 SC in each of the next 2 sts. Repeat from * an additional 2 times. 1 SC in each of the next 9 sts around. (21 sts)
R16: *2 SC in next st, 1 SC in each of the next 3 sts. Repeat from * an additional 2 times. 1 SC in each of the next 9 sts around. (24 sts)
R17: *2 SC in next st, 1 SC in each of the next 4 sts. Repeat from * an additional 2 times. 1 SC in each of the next 9 sts around. (27 sts)
R18: *2 SC in next st, 1 SC in each of the next 5 sts. Repeat from * an additional 2 times. 1 SC in each of the next 9 sts around. (30 sts)
R19: *2 SC in next st, 1 SC in each of the next 4 sts. Repeat from * an additional 2 times. Add a st marker to the last worked st. **2 SC in next st, 1 SC in each of the next 4 sts. Repeat from ** an additional 2 times. (36 sts)
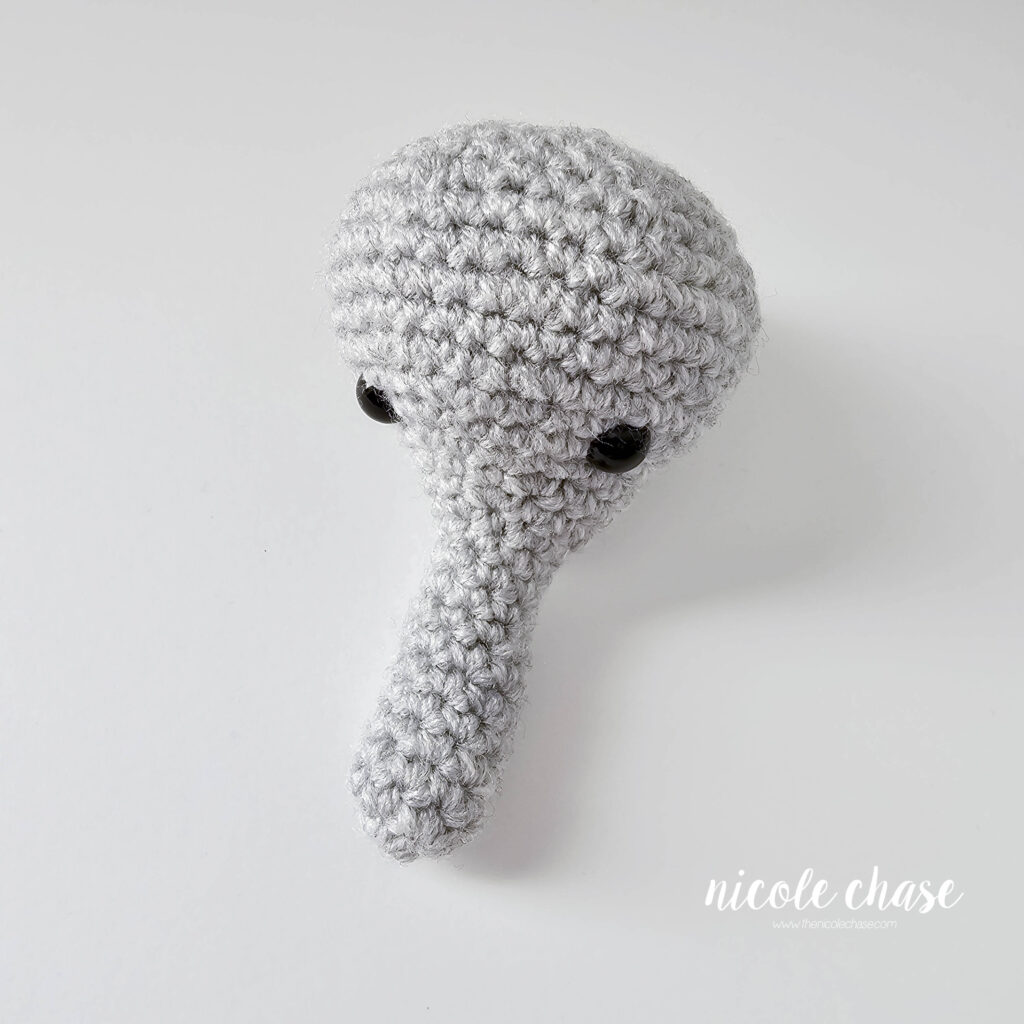
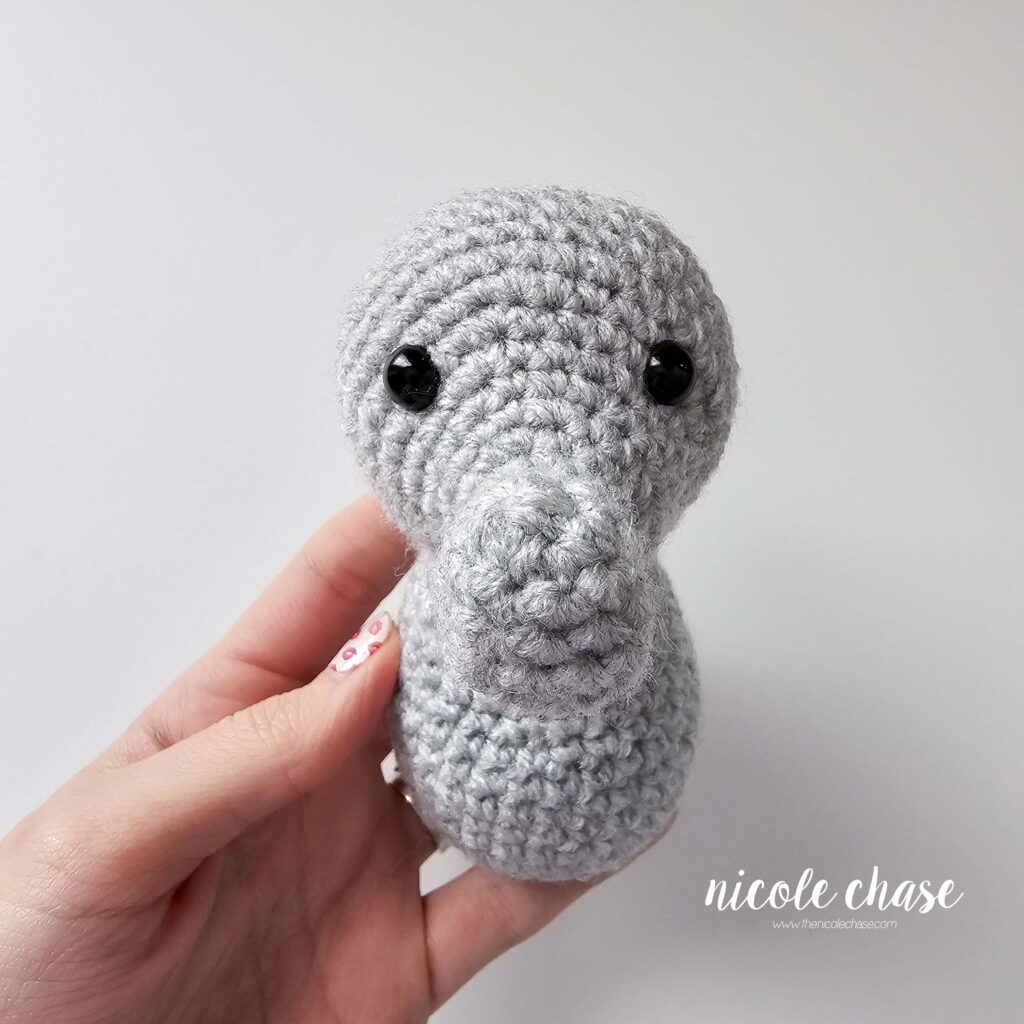
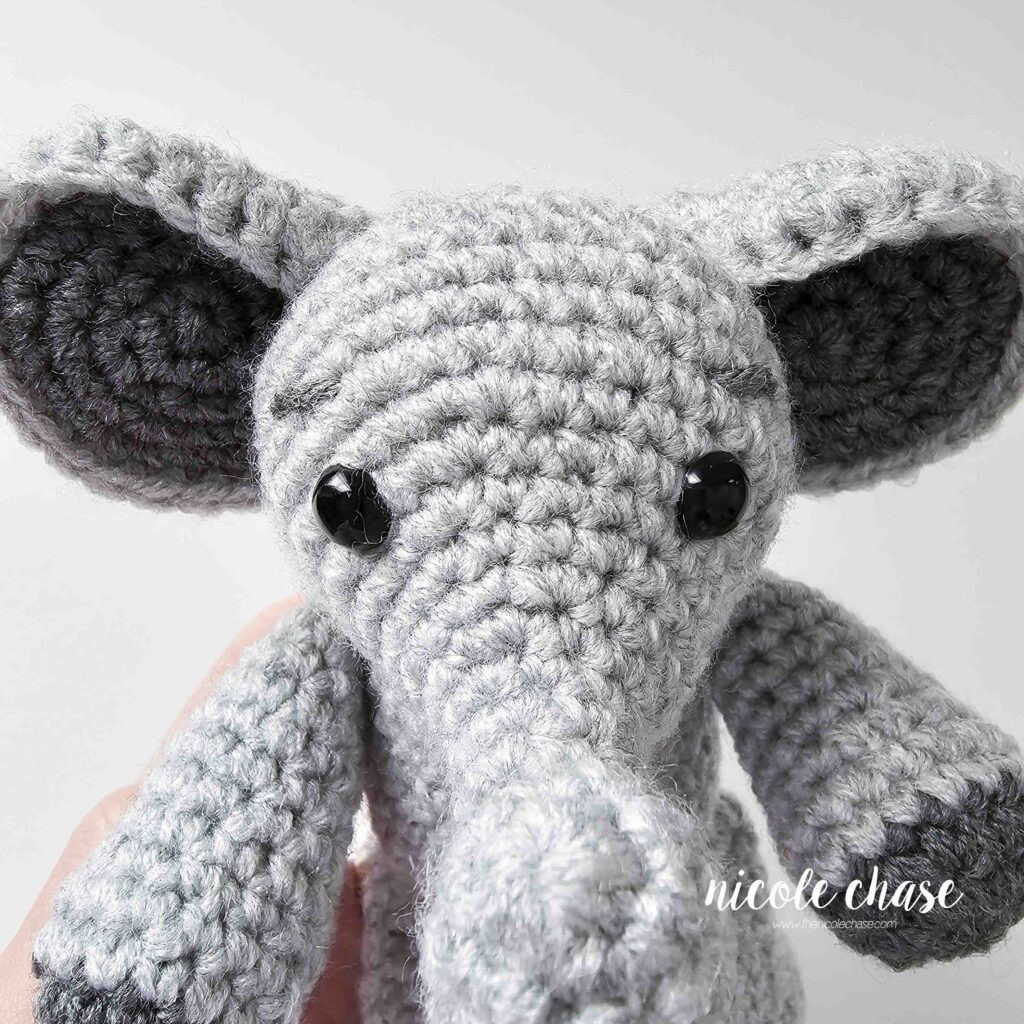
The added st marker, and the st marker at the beginning of this round helps to indicate the front sides of the face. The first sequence of sts between the first and second st markers indicates the top of the head. The second sequence of sts between the second and first st markers indicates the bottom of the head. If using safety eyes, insert eyes between R17-18, with 7 sts between. You can now remove your second st marker. See tutorial photos.
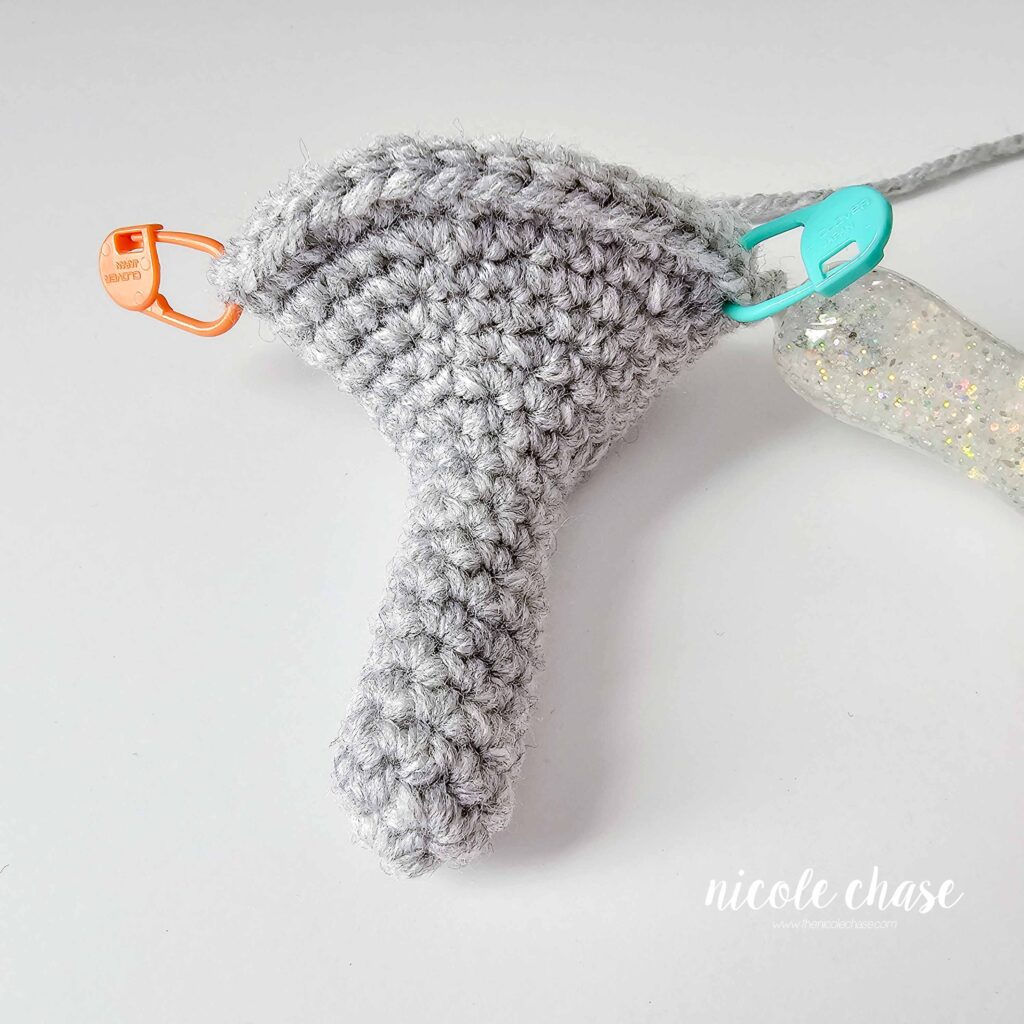
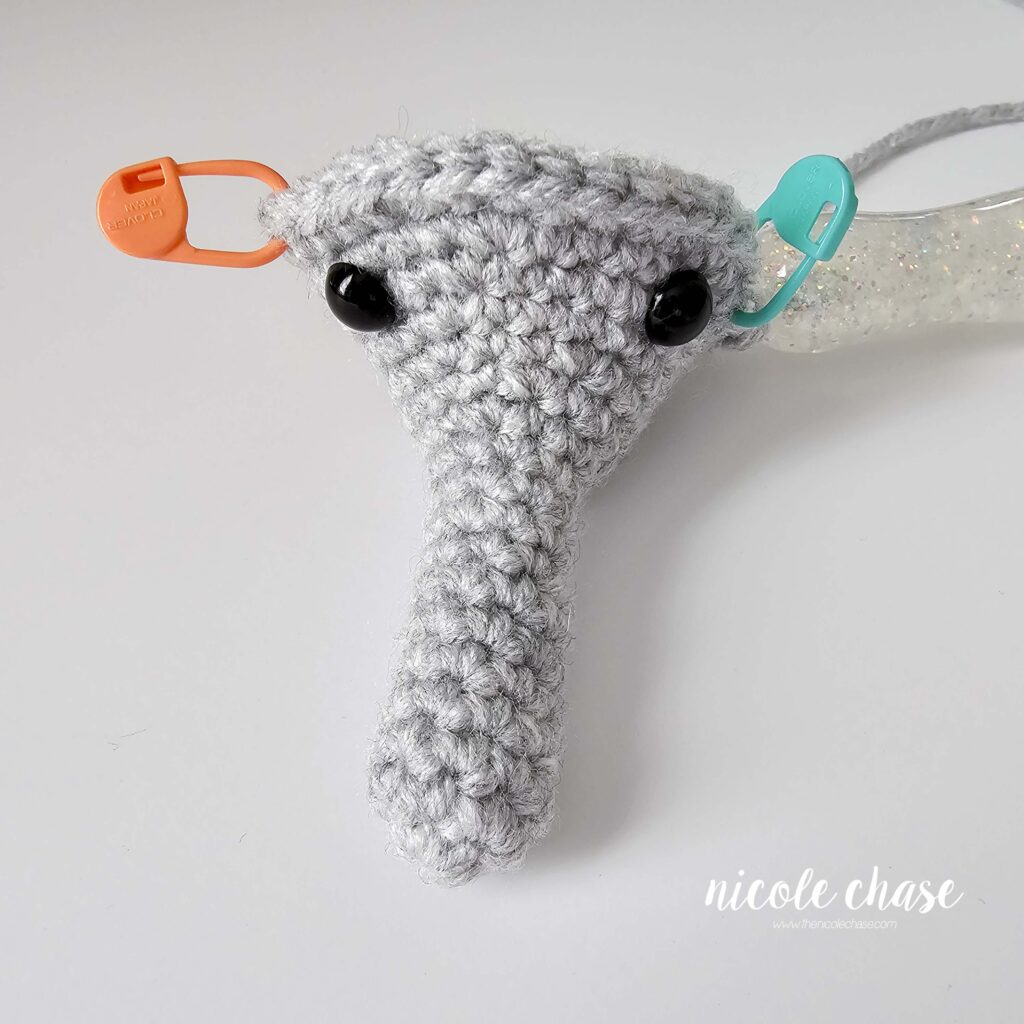
R20-22: 1 SC in each st around. (36 sts)
R23: *SC2tog, 1 SC in each of the next 4 sts. Repeat from * around. (30 sts)
R24: *SC2tog, 1 SC in each of the next 3 sts. Repeat from * around. (24 sts)
R25: 1 SC in each st around. (24 sts)
R26: *SC2tog, 1 SC in each of the next 2 sts. Repeat from * around. (18 sts)
Fill head with stuffing.
R27: *SC2tog, 1 SC in next st. Repeat from * around. (12 sts)
R28: *SC2tog. Repeat from * around. (6 sts)
Cut yarn, weave yarn in and out of remaining sts. Pull tight to close. Tie off and weave in ends.
Inner Ear (make 2)
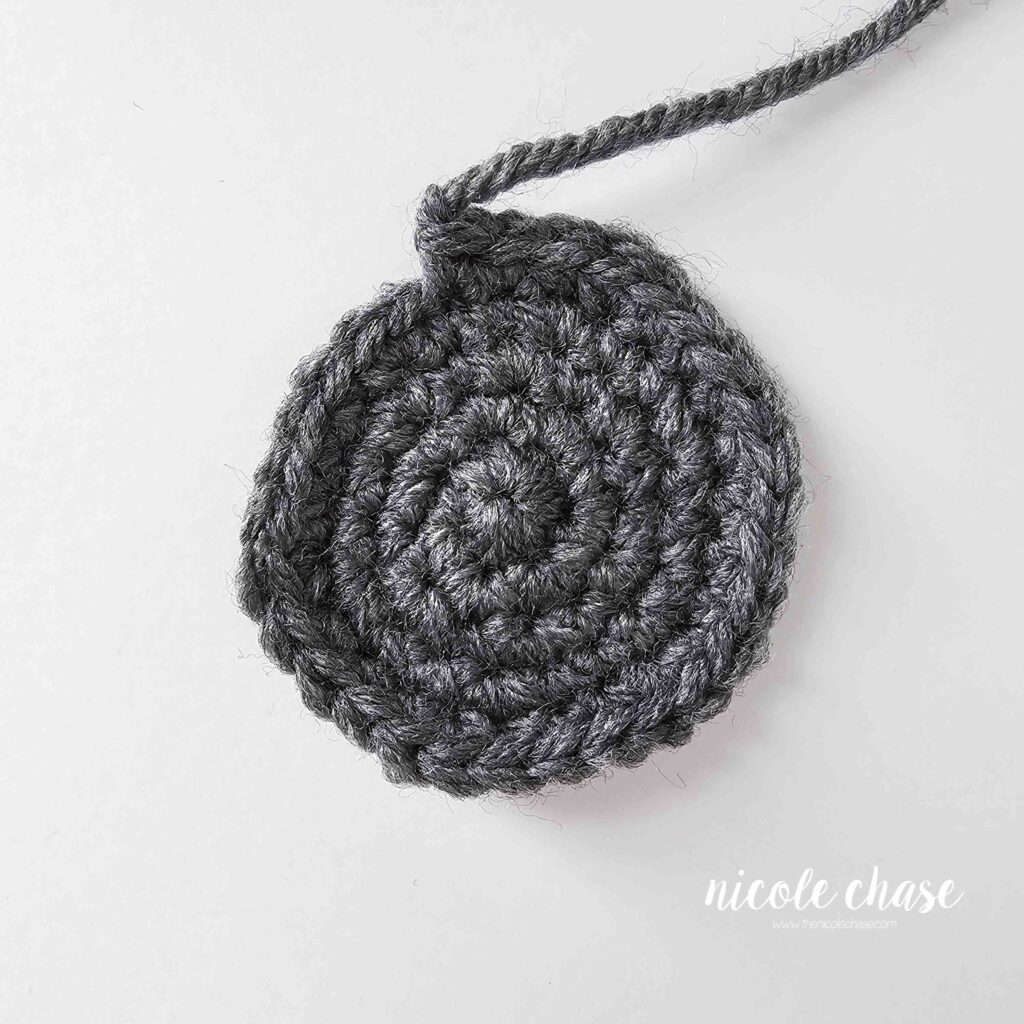
Using color B (shown as dark gray):
R1: Begin with 6 SC in a magic ring. (6 sts)
R2: 2 SC in each st around. (12 sts)
R3: *2 SC in next st, 1 SC in next st. Repeat from * around. (18 sts)
R4: *2 SC in next st, 1 SC in each of the next 2 sts. Repeat from * around. (24 sts)
R5: *2 SC in next st, 1 SC in each of the next 3 sts. Repeat from * around. (30 sts)
Fasten off.
Outer Ear (make 2)
Using color A (shown as gray):
R1: Begin with 6 SC in a magic ring. (6 sts)
R2: 2 SC in each st around. (12 sts)
R3: *2 SC in next st, 1 SC in next st. Repeat from * around. (18 sts)
R4: *2 SC in next st, 1 SC in each of the next 2 sts. Repeat from * around. (24 sts)
R5: *2 SC in next st, 1 SC in each of the next 3 sts. Repeat from * around. Sl st to beginning. (30 sts)
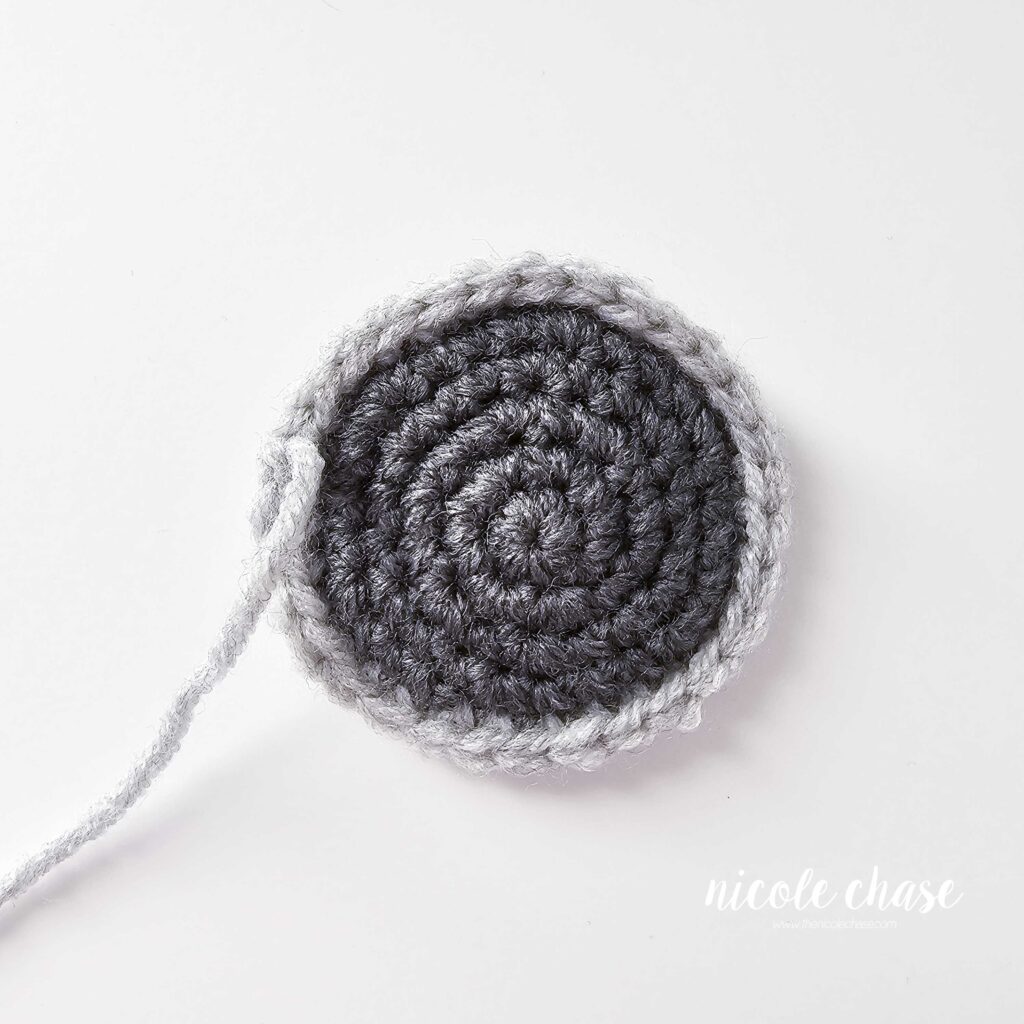
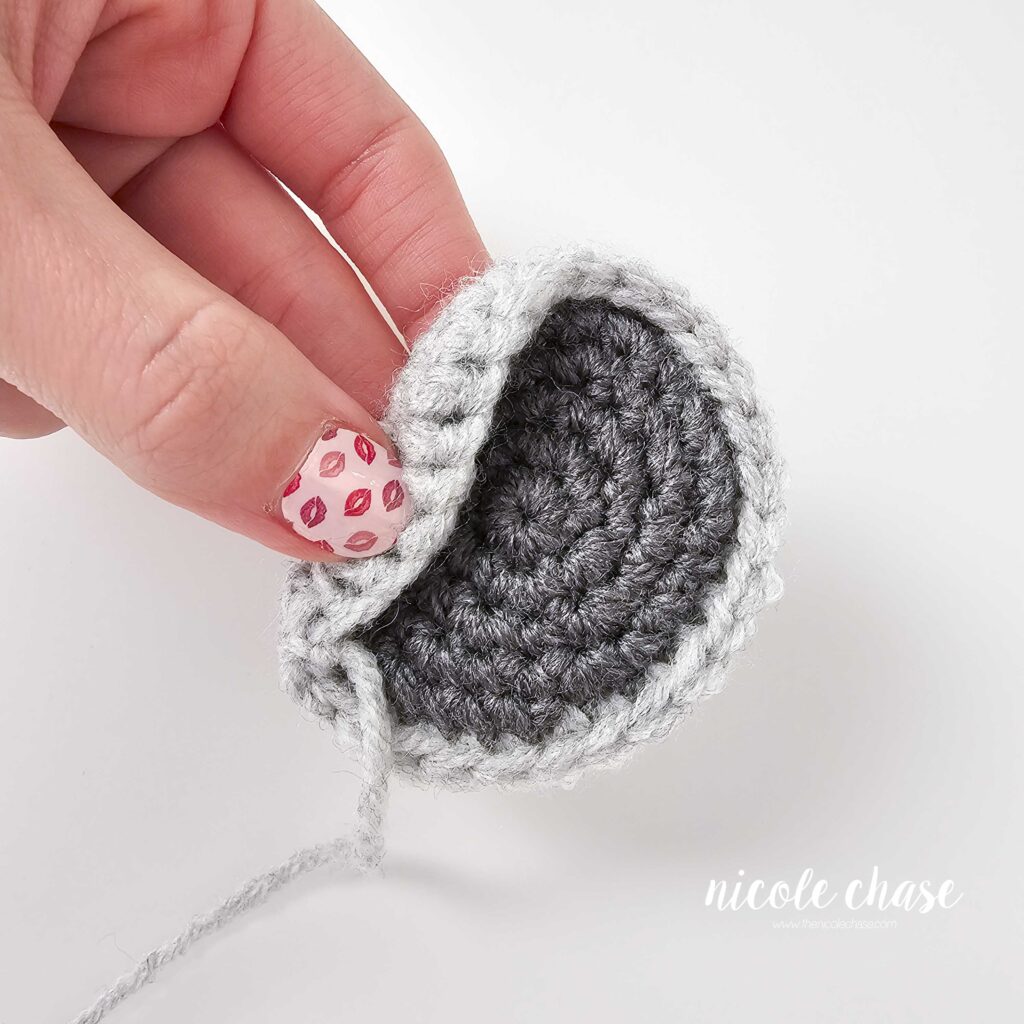
R6: Ch 1, turn. Hold the Inner Ear against the Outer Ear with wrong sides together and right sides facing outward. Working through each layer, SC around the entire ear to beginning. Join with a sl st to beginning. (30 sts)
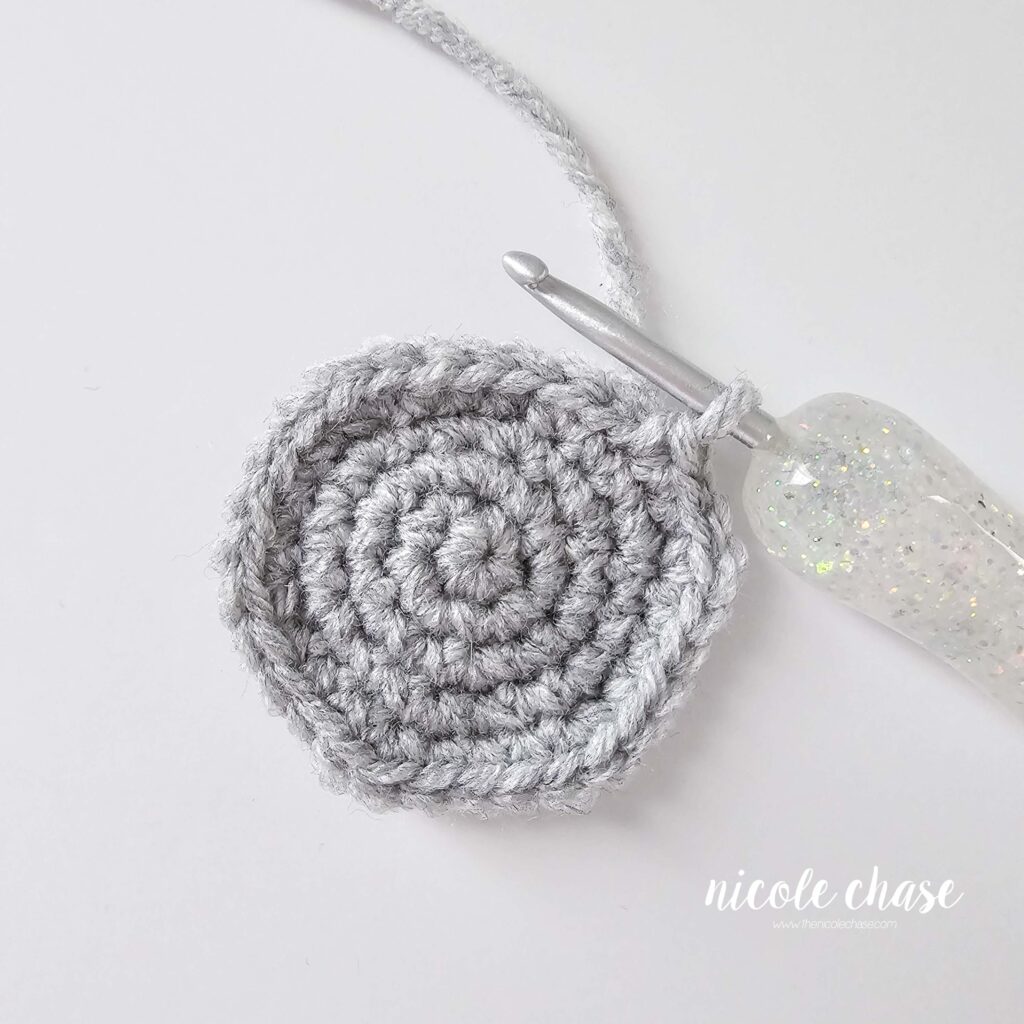
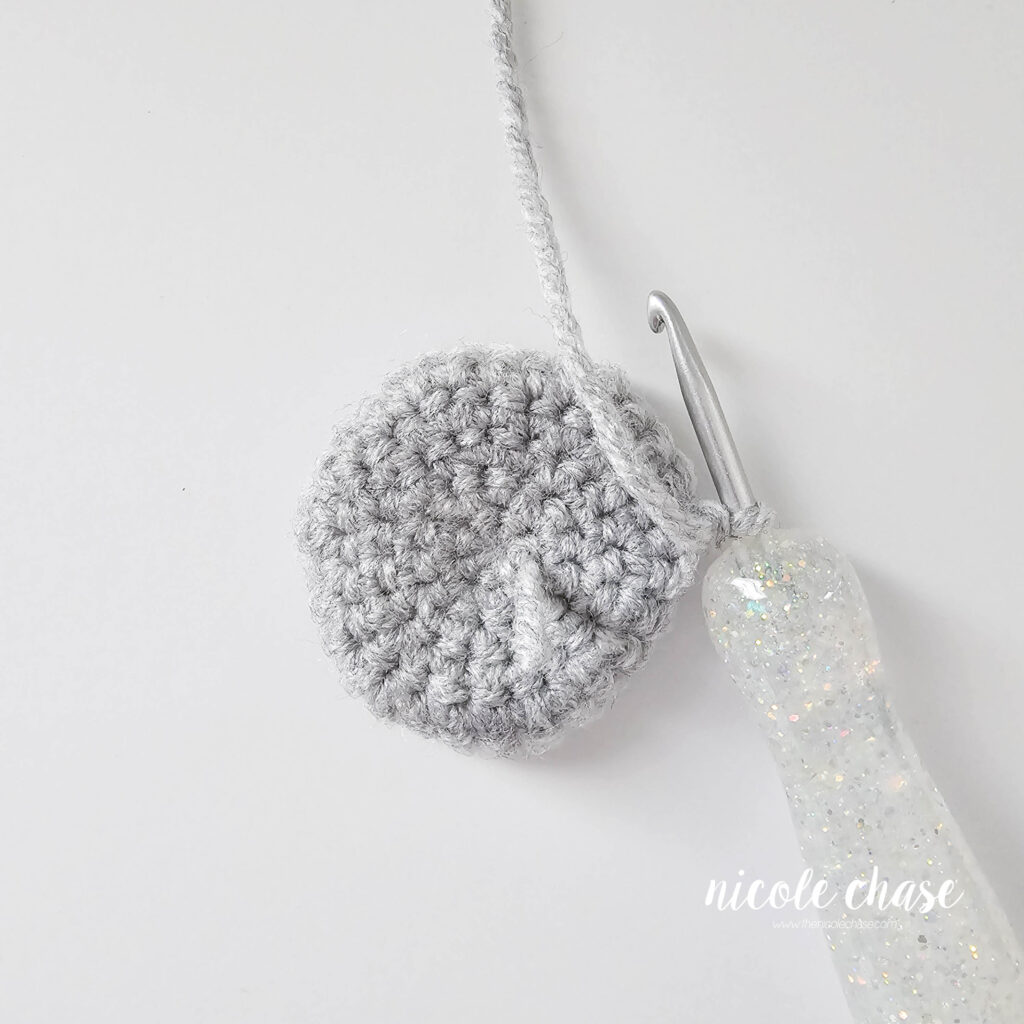
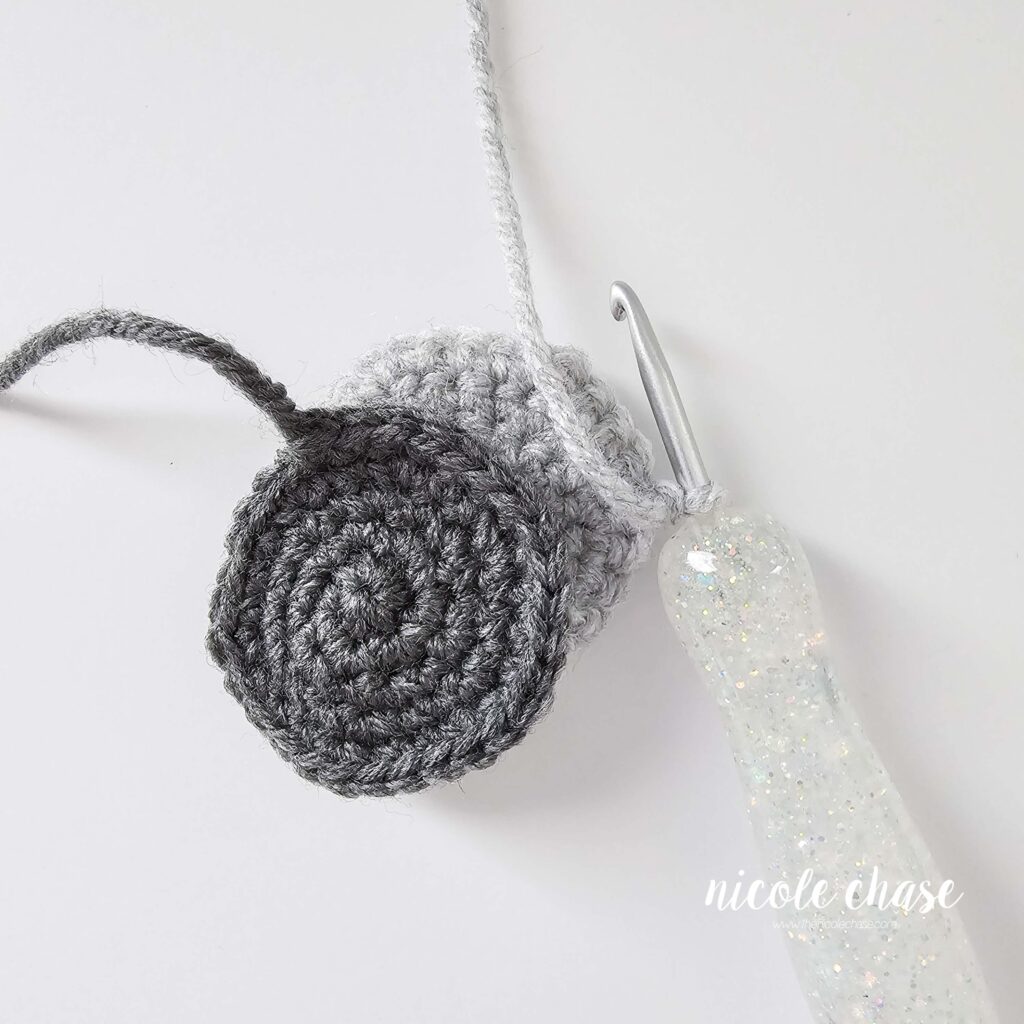
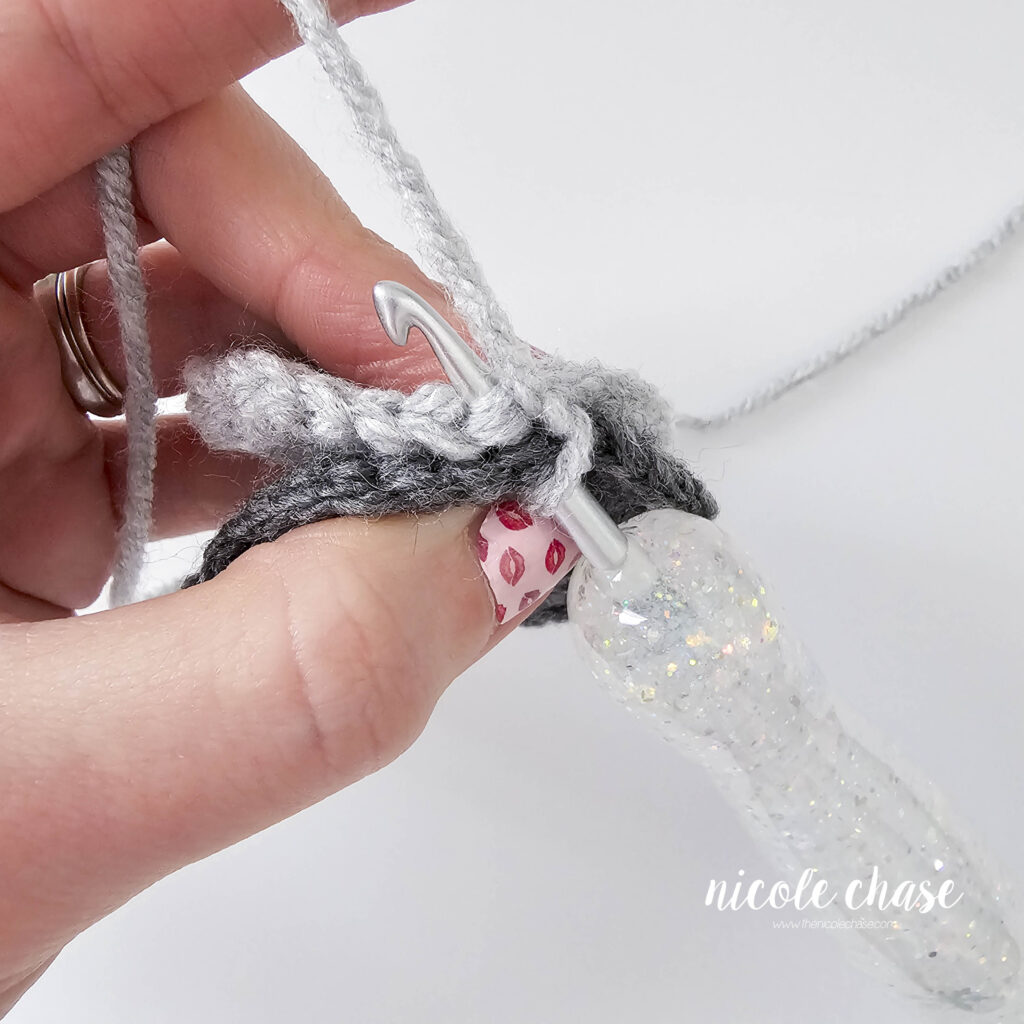
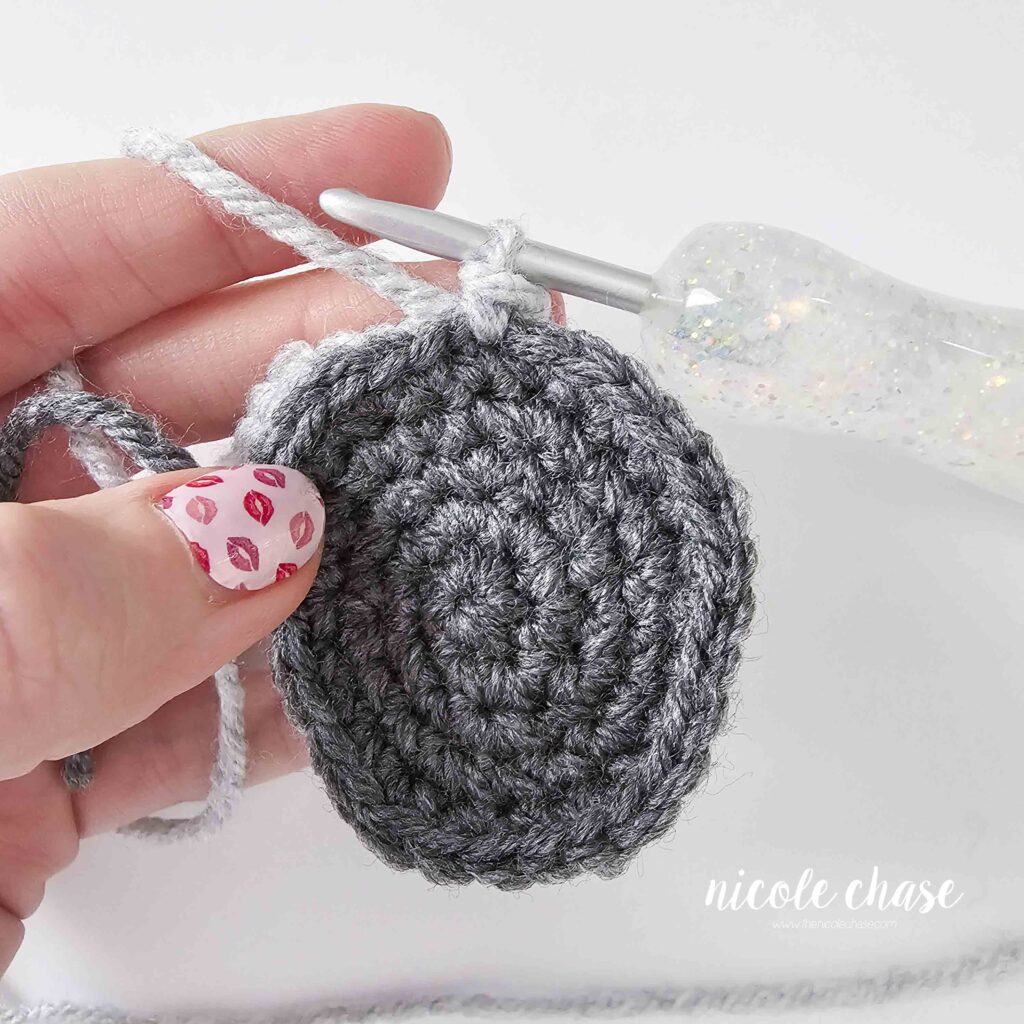
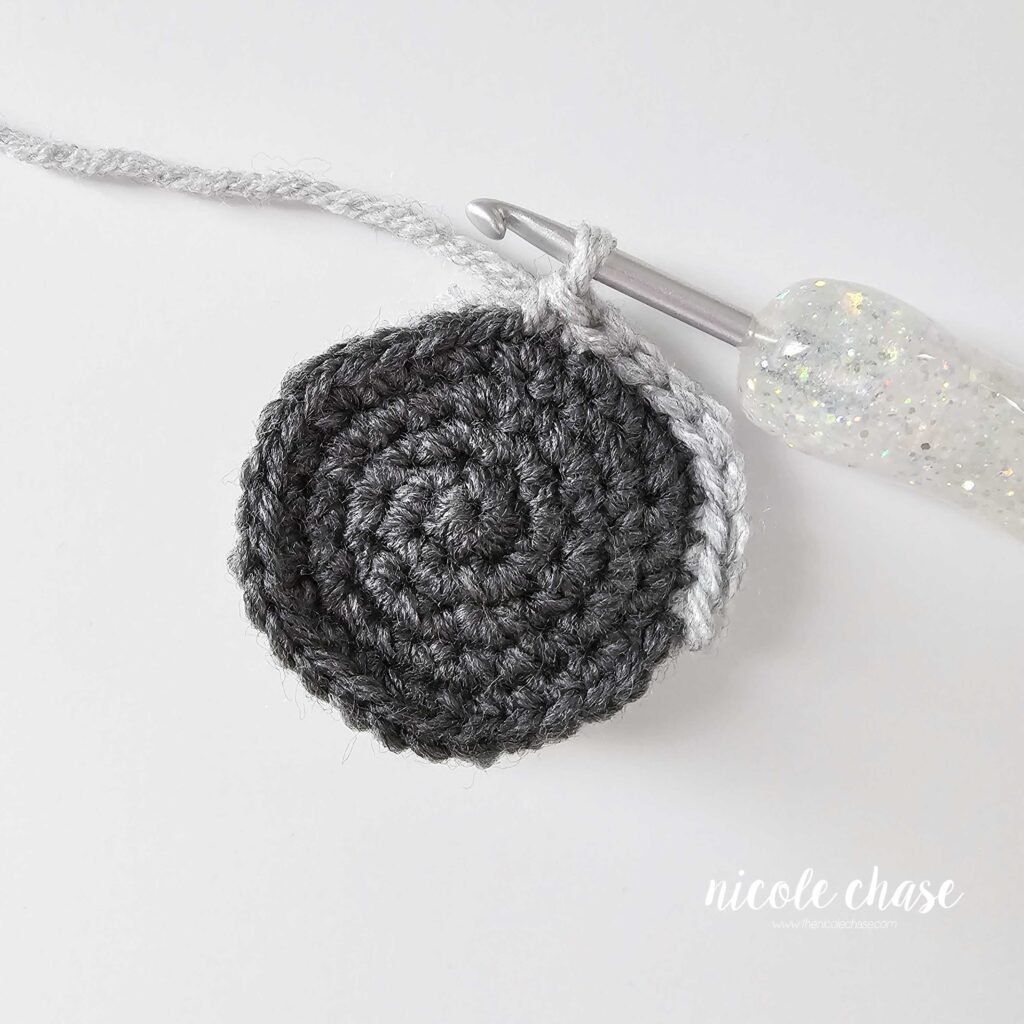
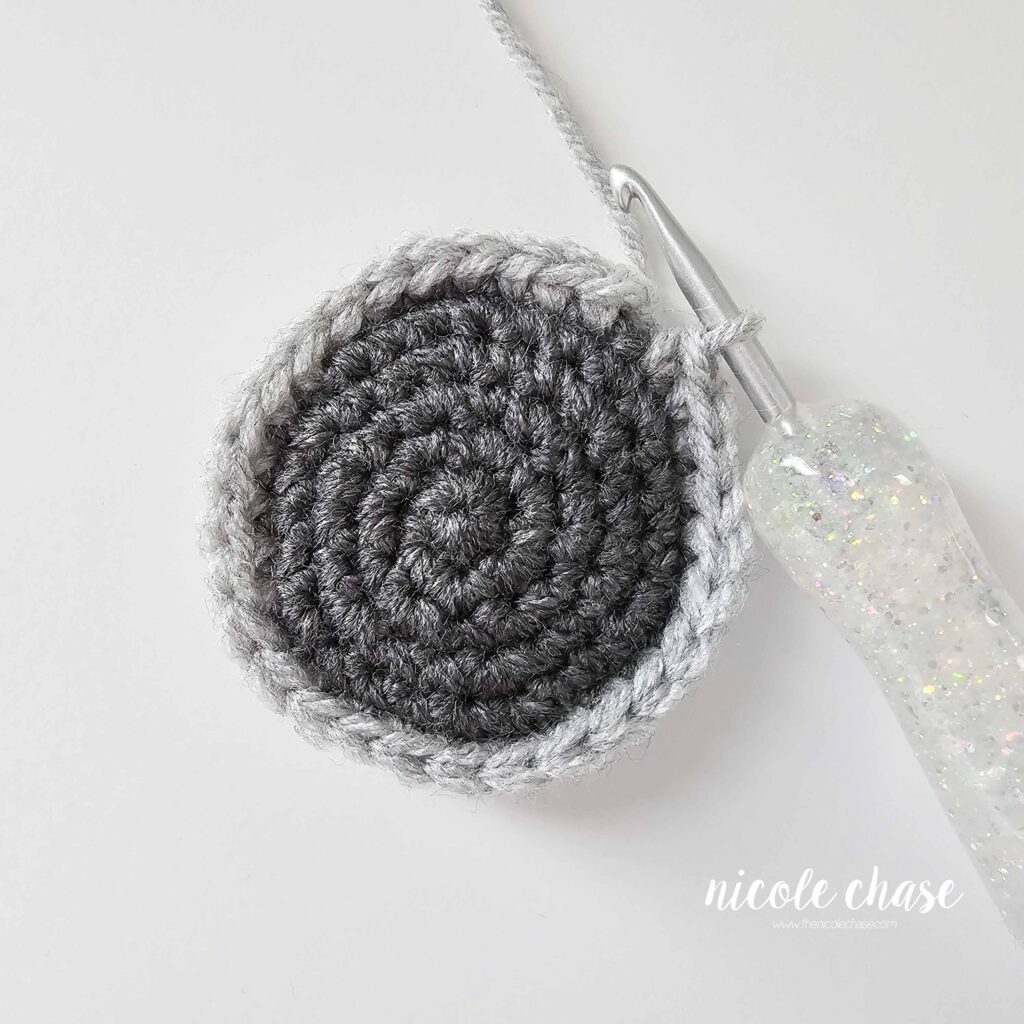
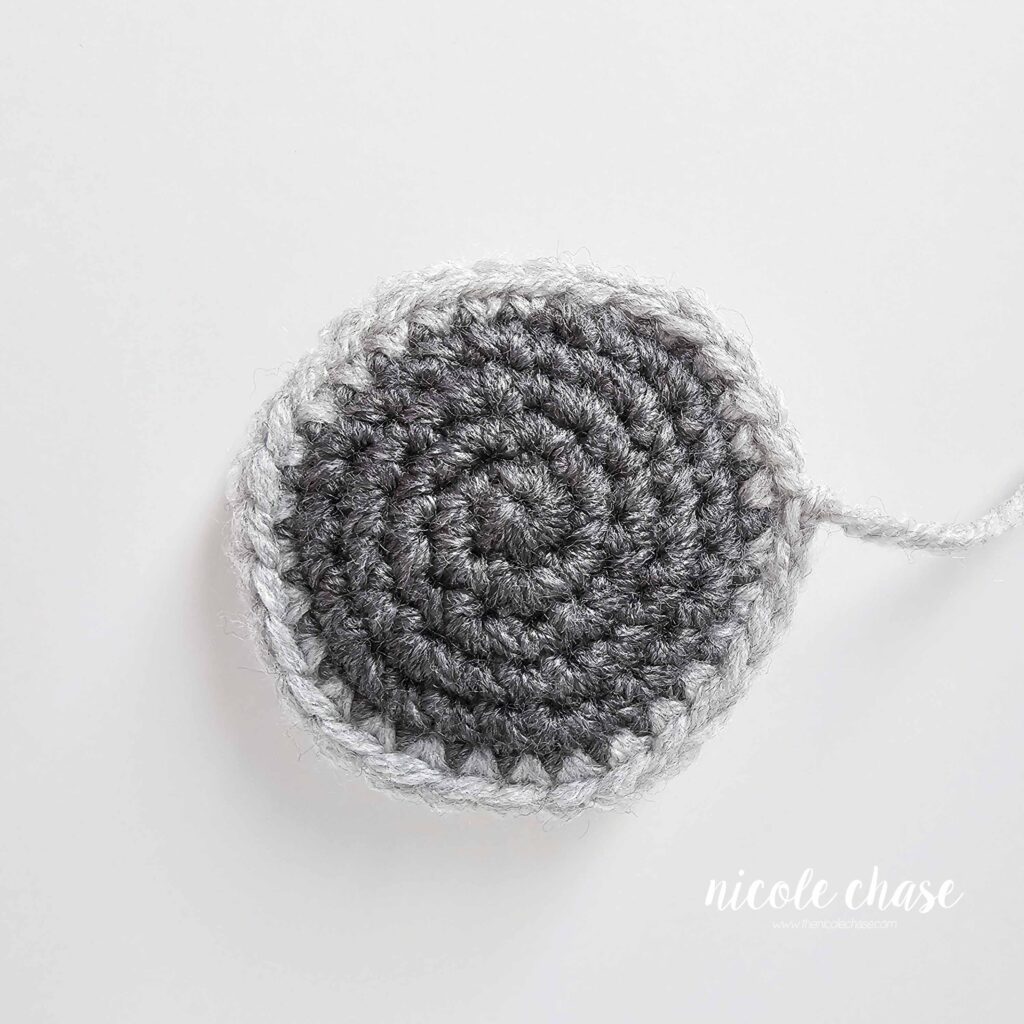
Cut yarn, leaving long strand for sewing. Fasten off.
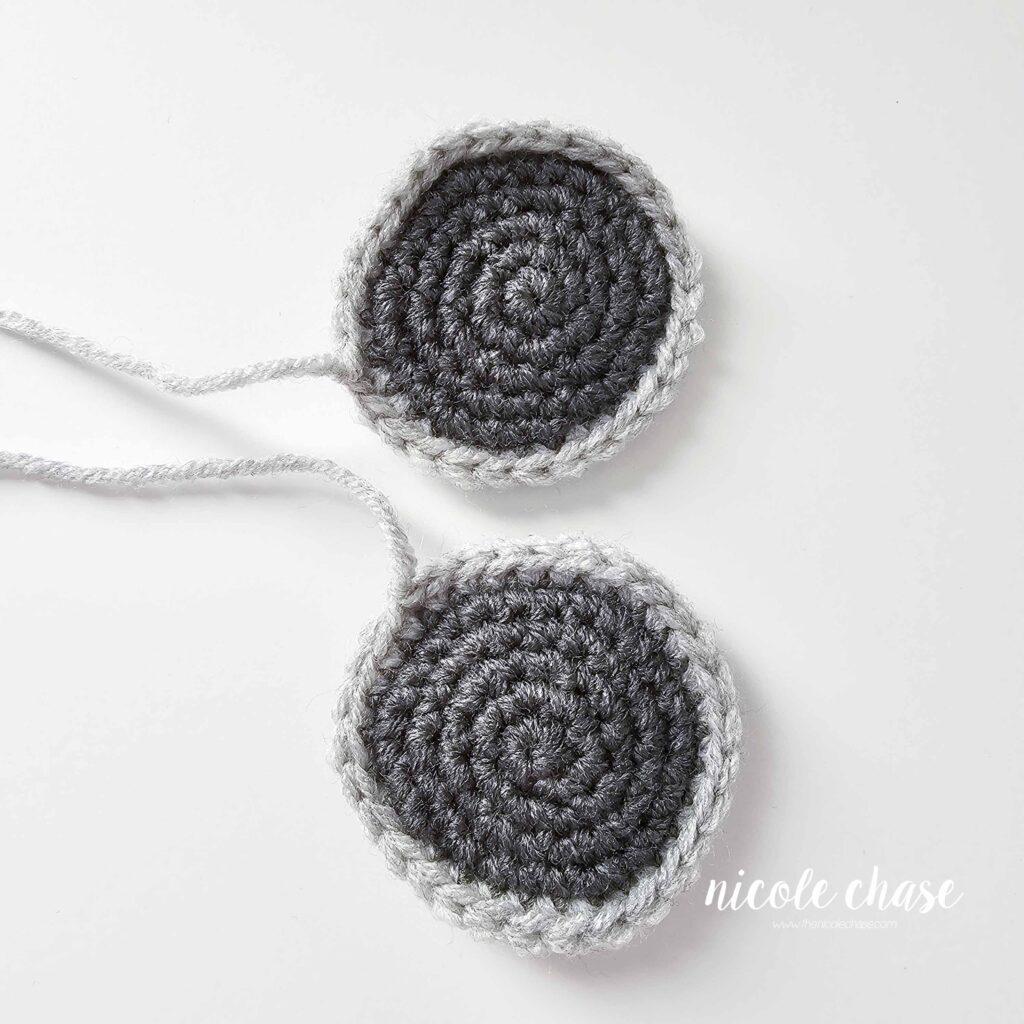
Legs (make 2)
Using color B (shown as dark gray):
R1: Begin with 6 SC in a magic ring. (6 sts)
R2: 2 SC in each st around. (12 sts)
R3: *2 SC in next st, 1 SC in next st. Repeat from * around. (18 sts)
R4: *2 SC in next st, 1 SC in each of the next 2 sts. Repeat from * around. (24 sts)
Using color A (shown as gray):
R5-6: 1 SC in each st around. (24 sts)
R7: *SC2tog, 1 SC in each of the next 2 sts. Repeat from * around. (18 sts)
R8-9: 1 SC in each st around. (18 sts)
R10: *SC2tog, 1 SC in each of the next 7 sts. Repeat from * around. (16 sts)
R11-15: 1 SC in each st around. (16 sts)
Fill with stuffing.
R16: Fold the leg closed. Working through both sides, 1 SC in each st across, leaving 1 unworked st on each side. See tutorial photos. (7 sts)
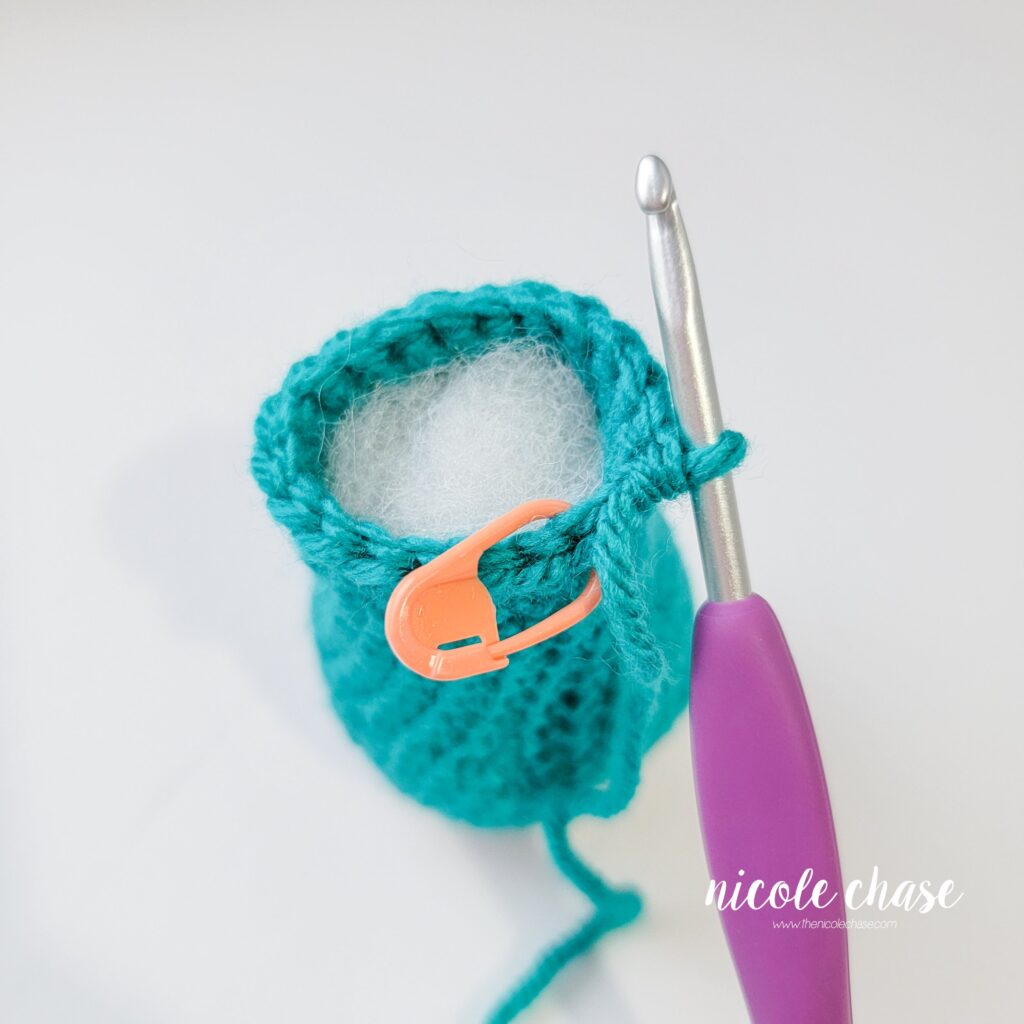
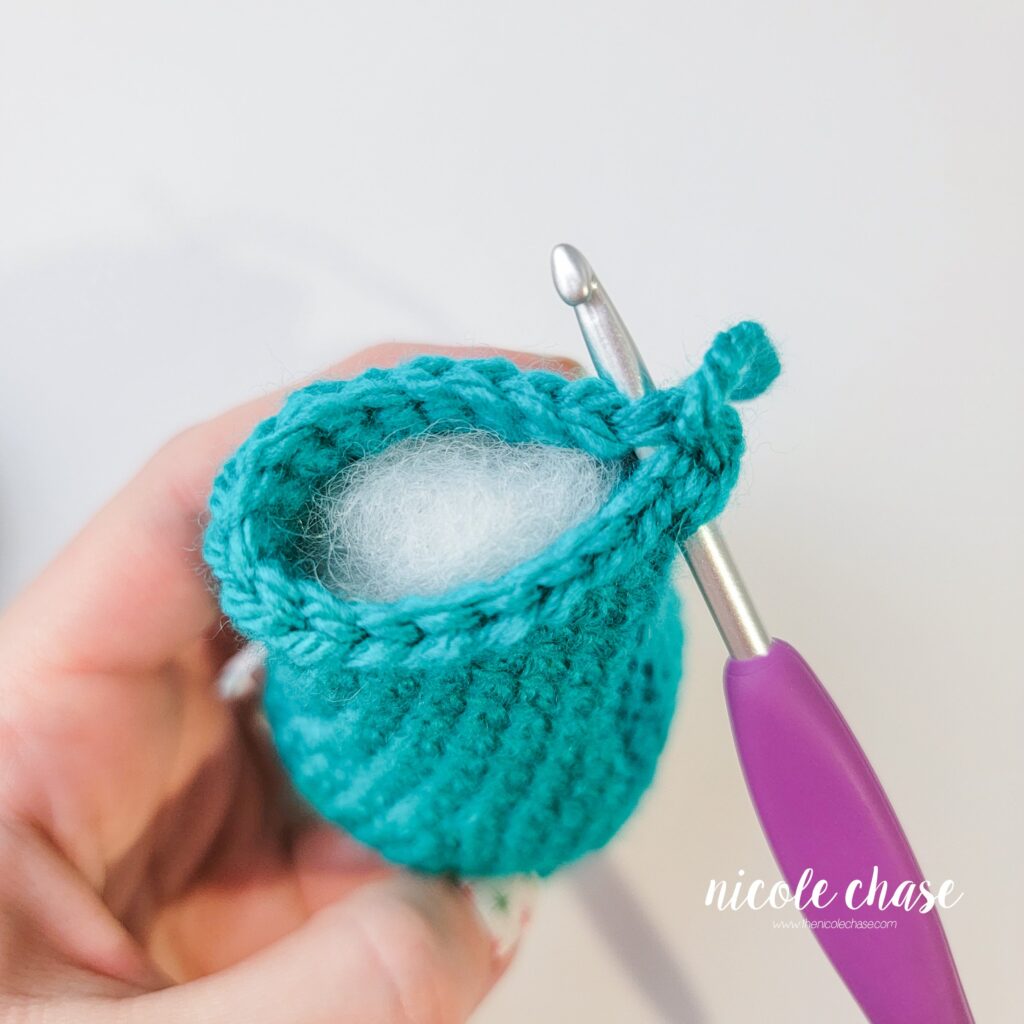
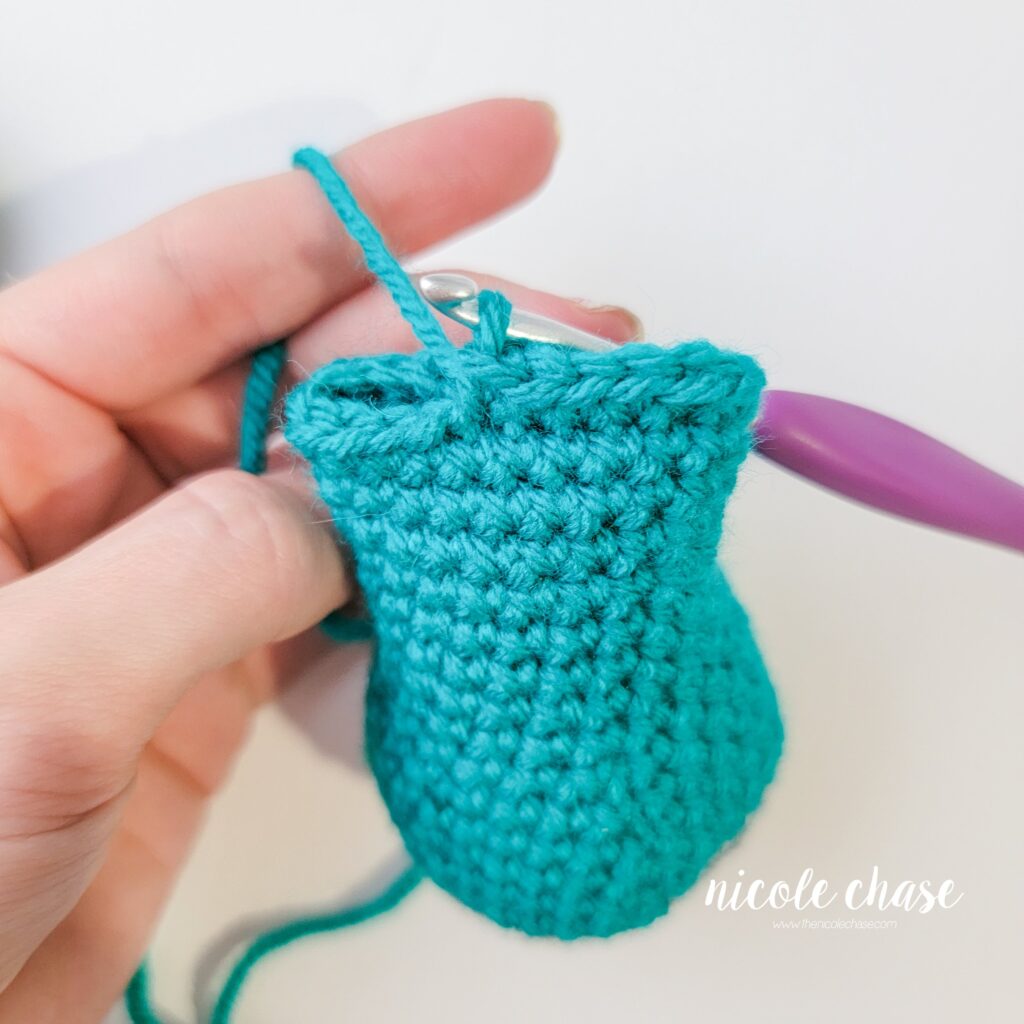
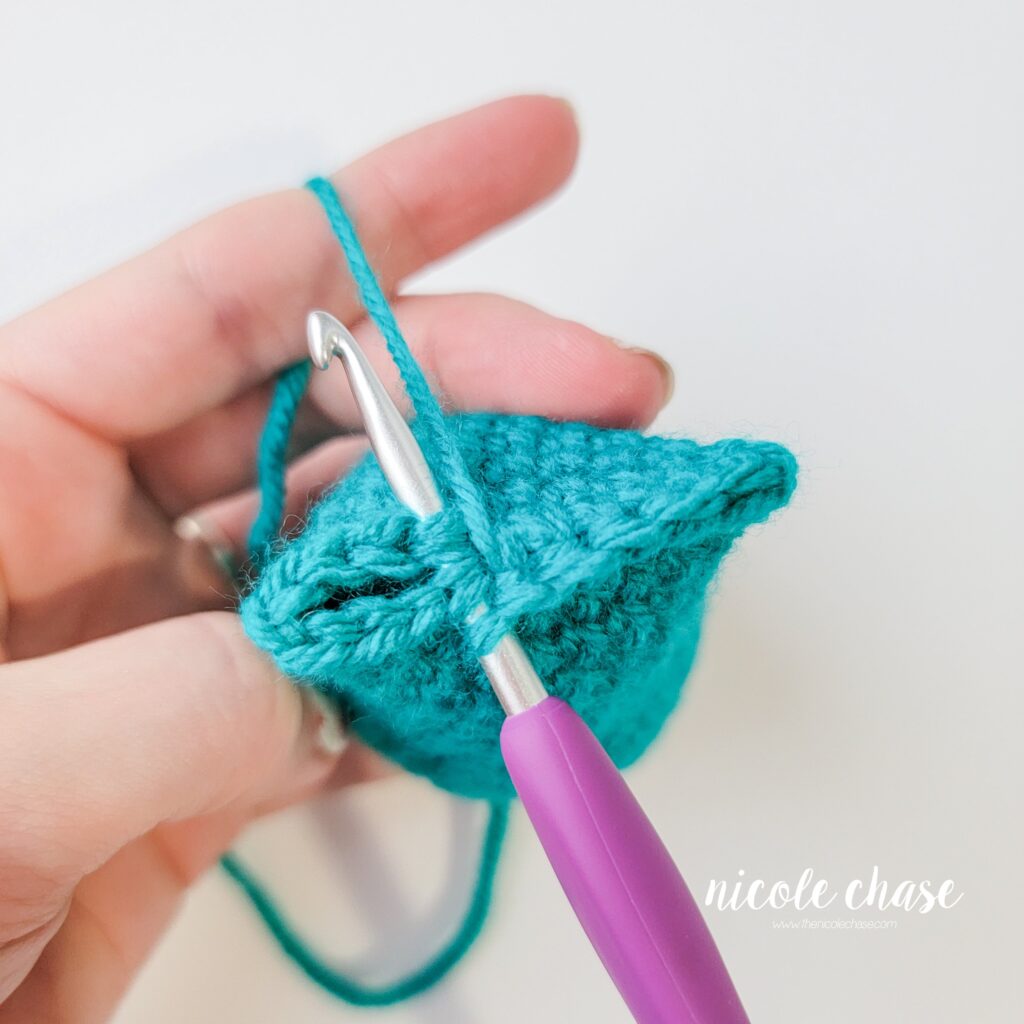
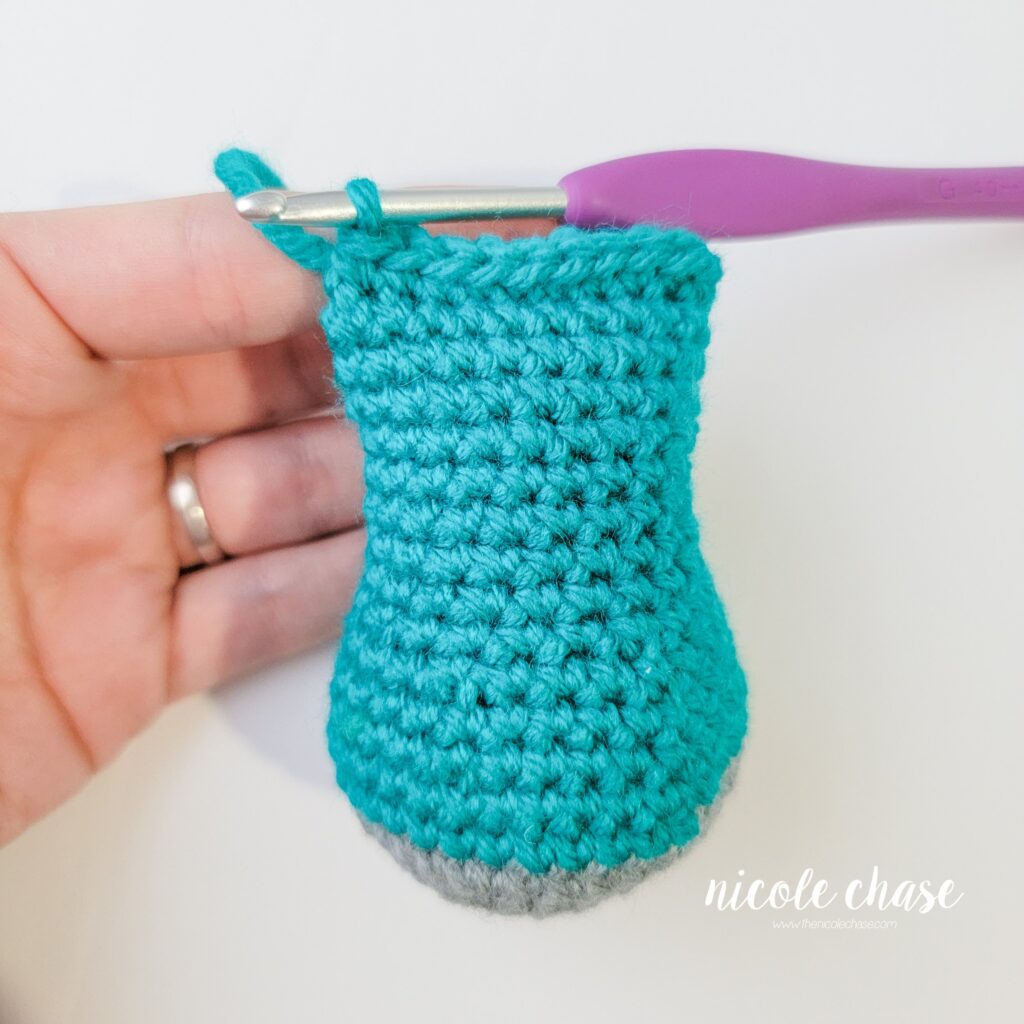
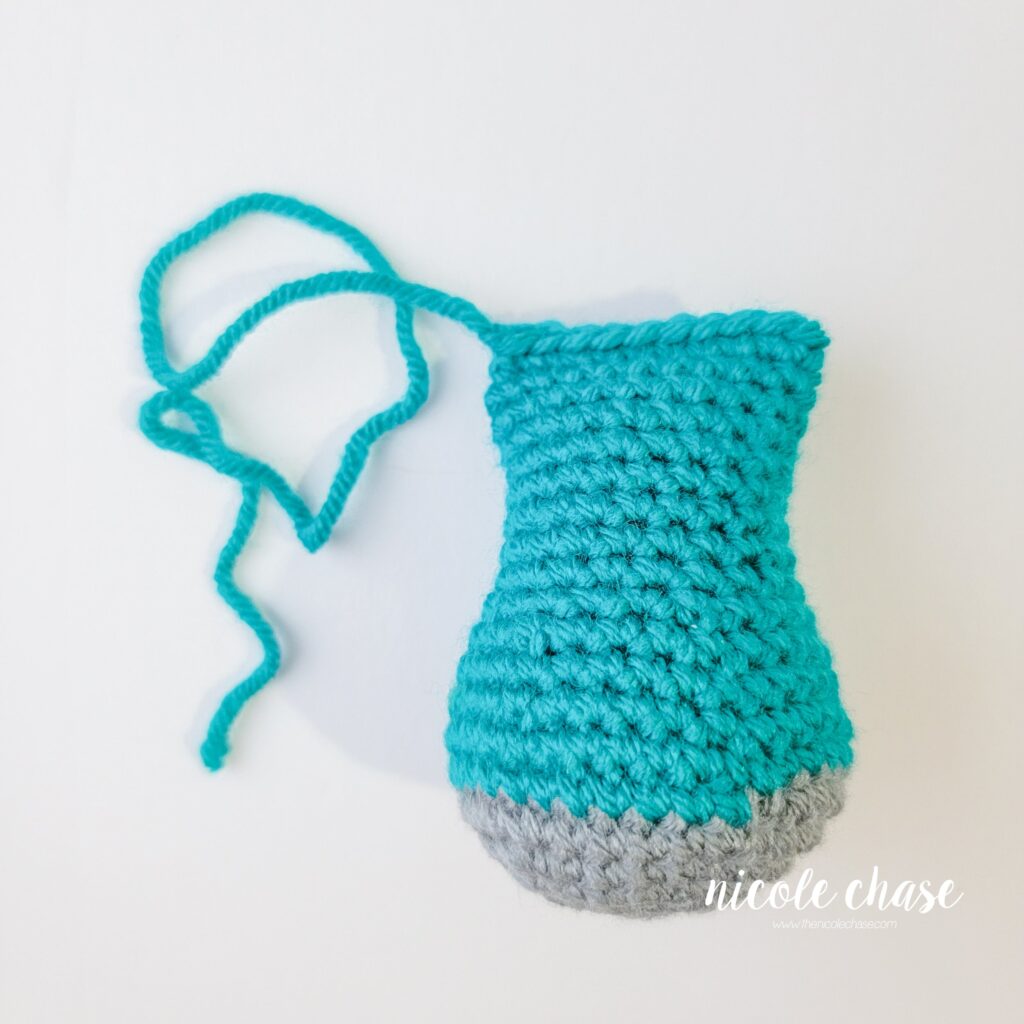
Cut yarn, leaving long strand for sewing. Fasten off.
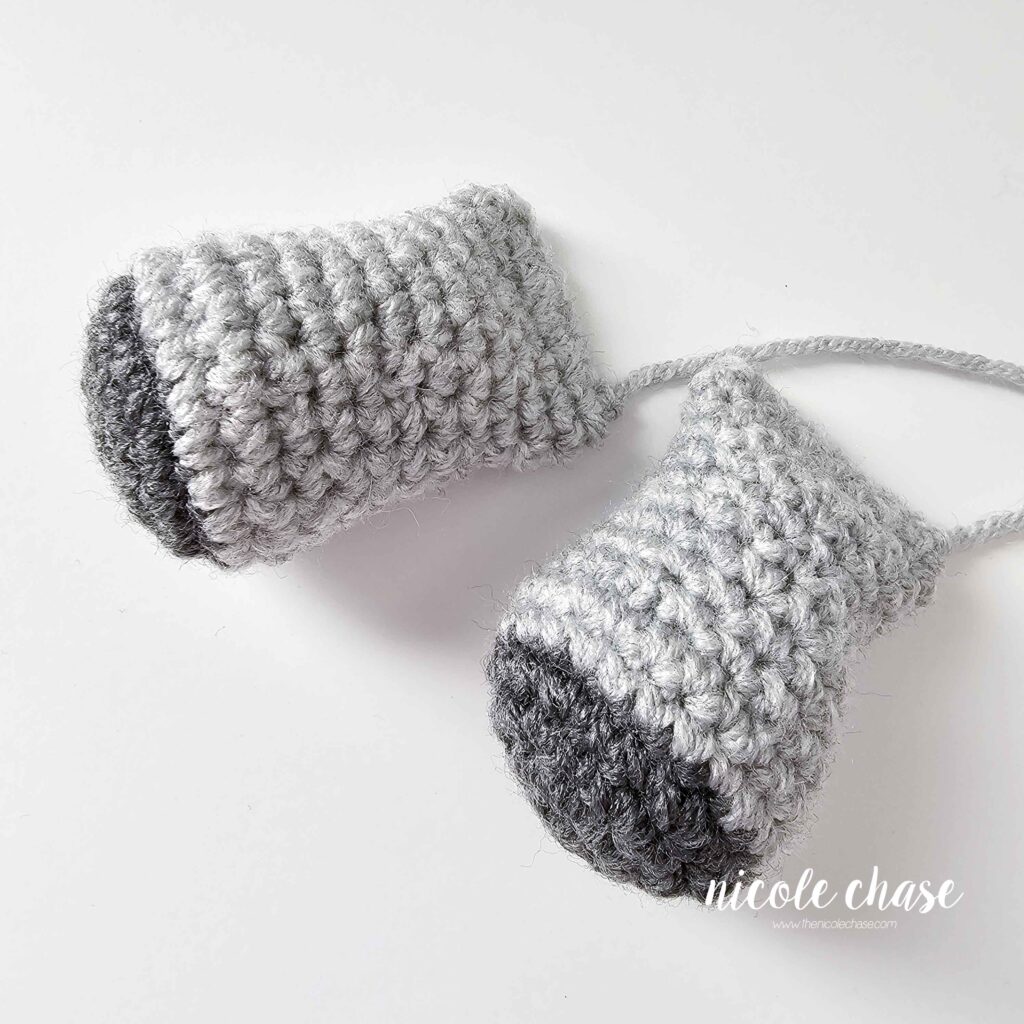
Arms (make 2)
Using color B (shown as dark gray):
R1: Begin with 6 SC in a magic ring. (6 sts)
R2: 2 SC in each st around. (12 sts)
R3: *2 SC in next st, 1 SC in next st. Repeat from * around. (18 sts)
Using color A (shown as gray):
R4-5: 1 SC in each st around. (18 sts)
R6: *SC2tog, 1 SC in next st. Repeat from * around. (12 sts)
R7-13: 1 SC in each st around. (12 sts)
Fill with stuffing.
R14: Fold the arm closed. Working through both sides, 1 SC in each st across, leaving 1 unworked st on each side. See tutorial photos. (5 sts)
Cut yarn, leaving long strand for sewing. Fasten off.
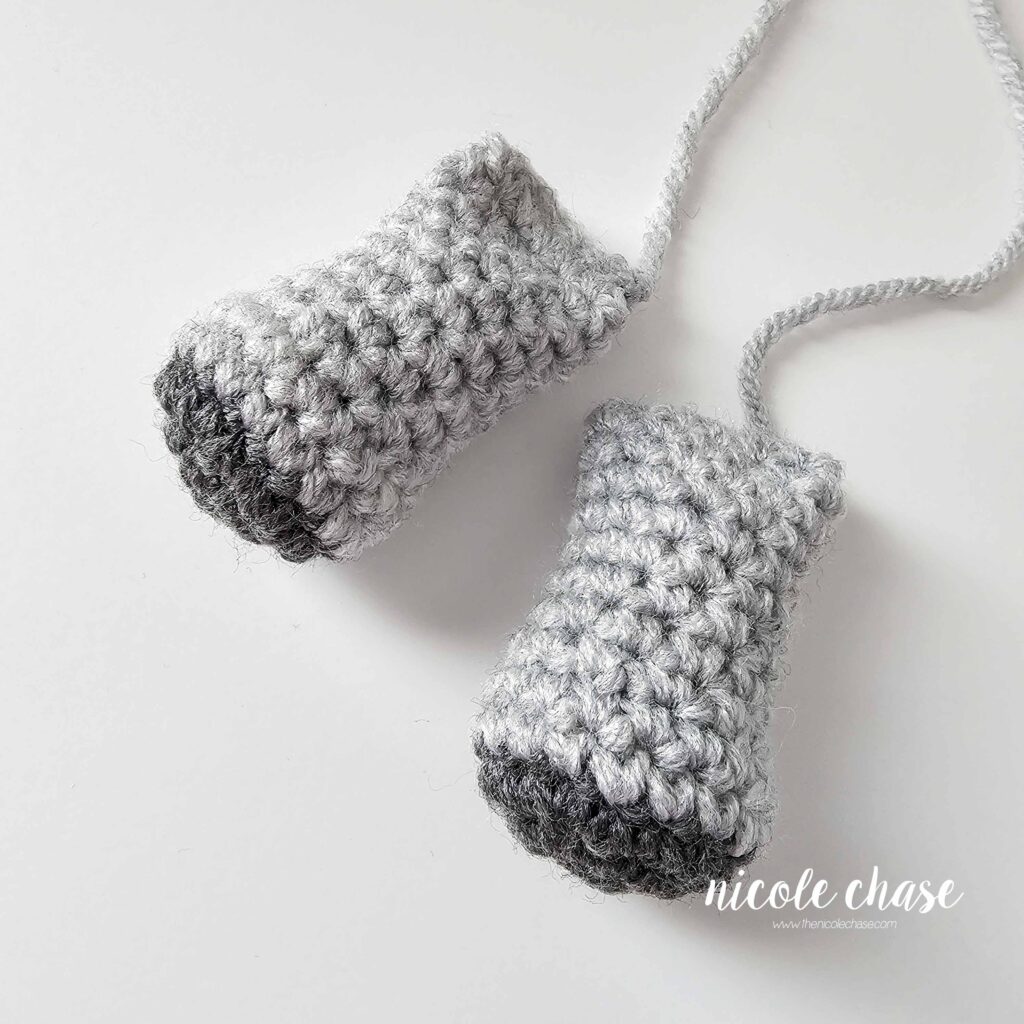
Tail
Using color A (shown as gray):
R1: Begin with 6 SC in a magic ring. (6 sts)
R2-6: 1 SC in each st around. (6 sts)
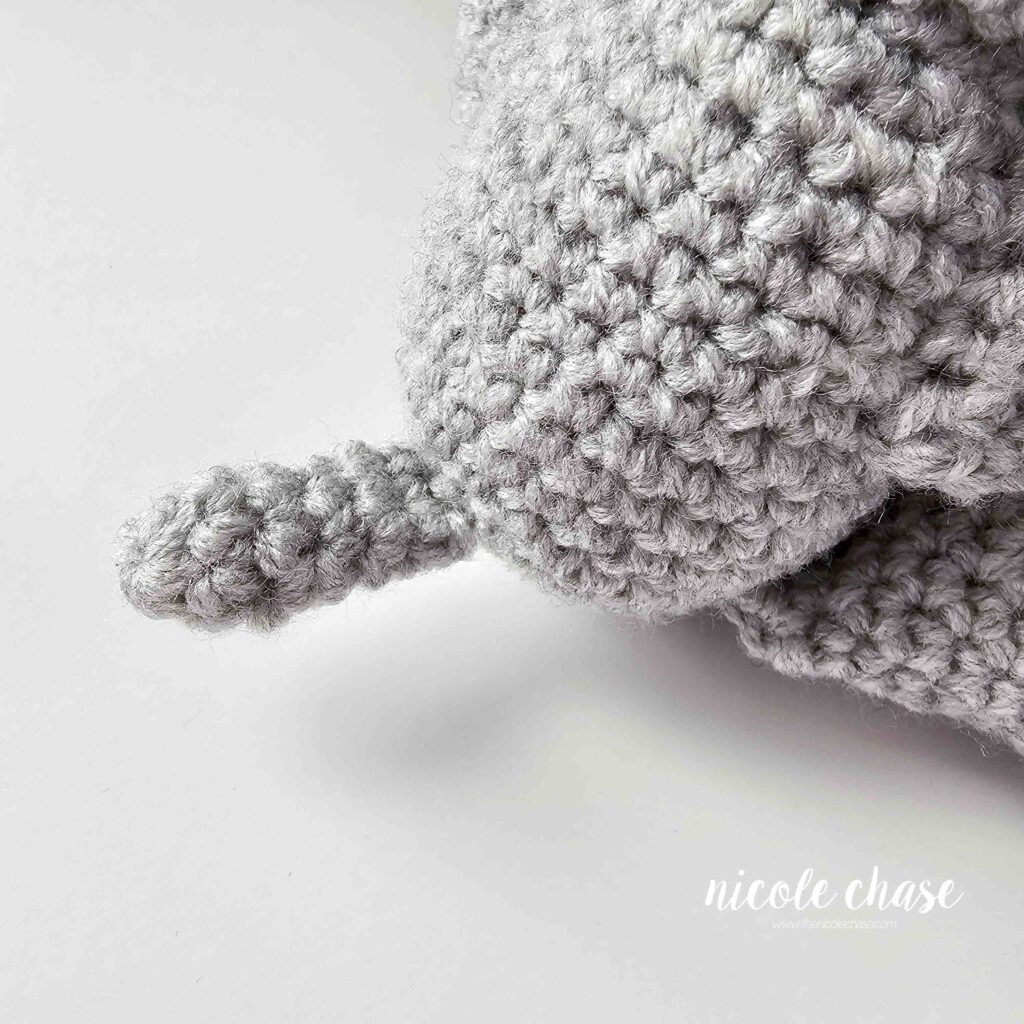
R7: Fold the tail closed. Working through both sides, 1 SC in each st across, leaving 1 unworked st on each side. See tutorial photos. (2 sts)
Cut yarn, leaving long strand for sewing. Fasten off.
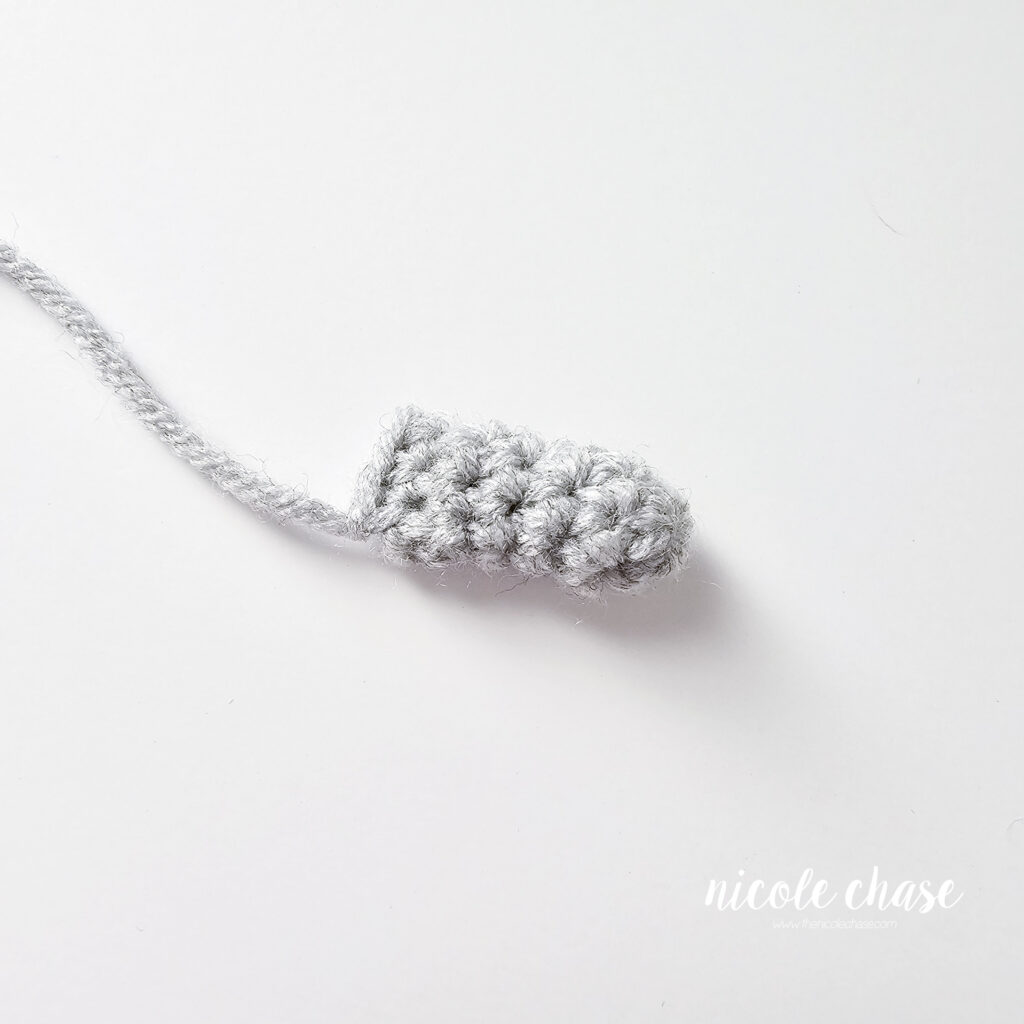
Assembly & Finishing
See tutorial photos.
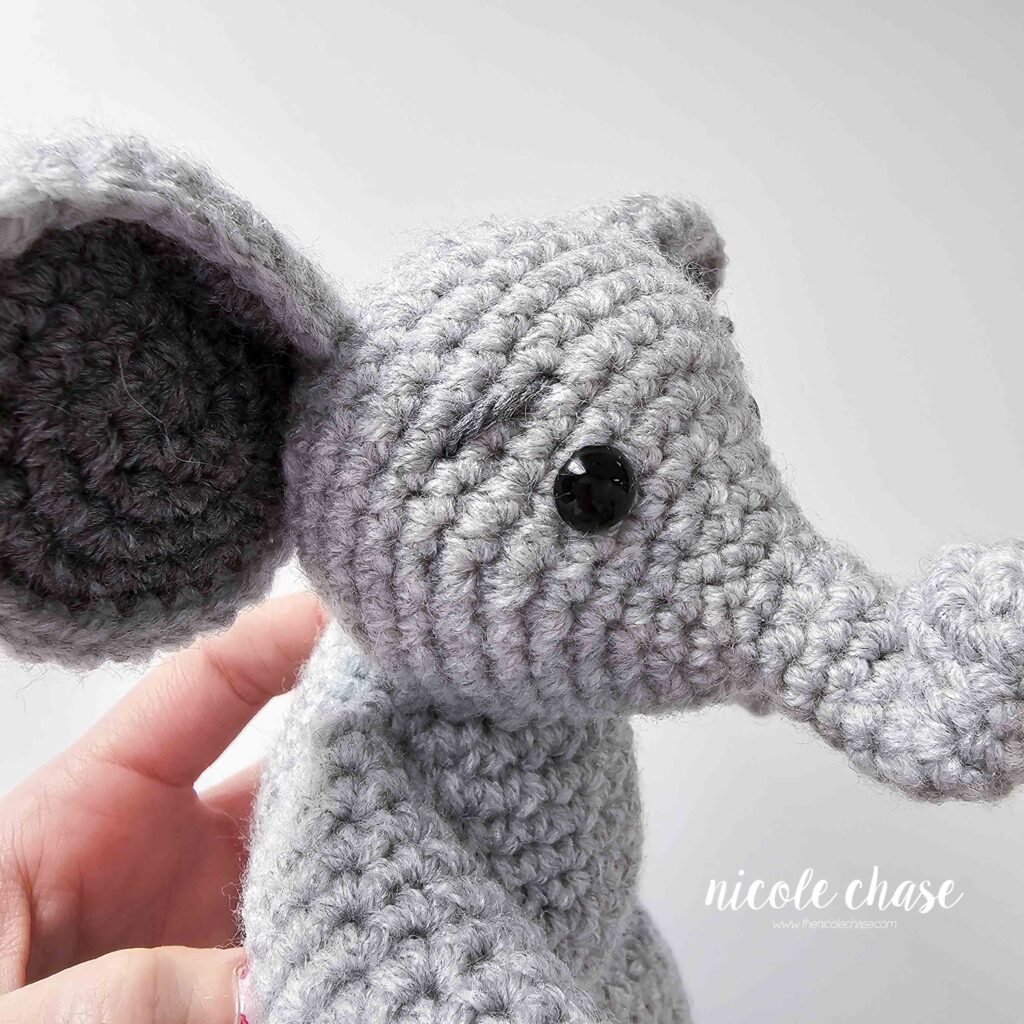
Curl the trunk upward and pin. Using a strand of color A, sew the trunk into a curled position.
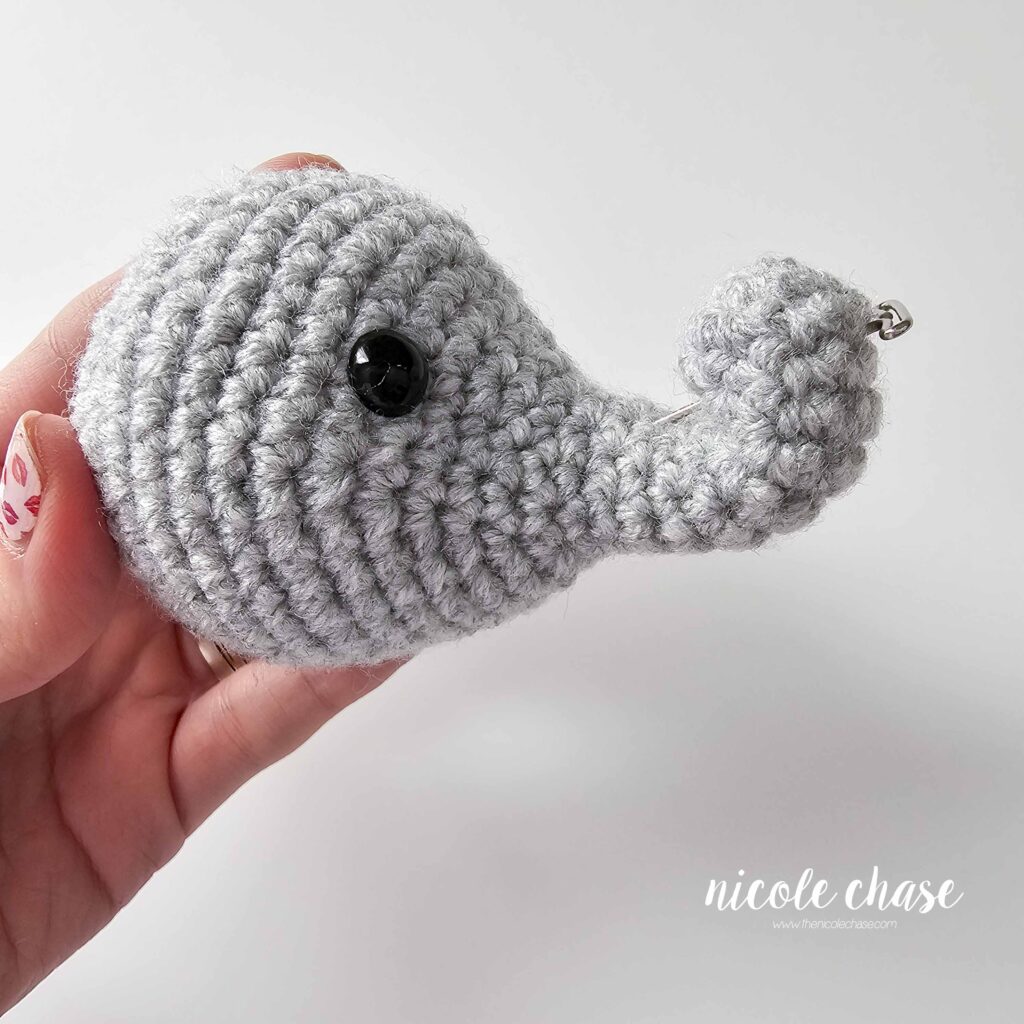
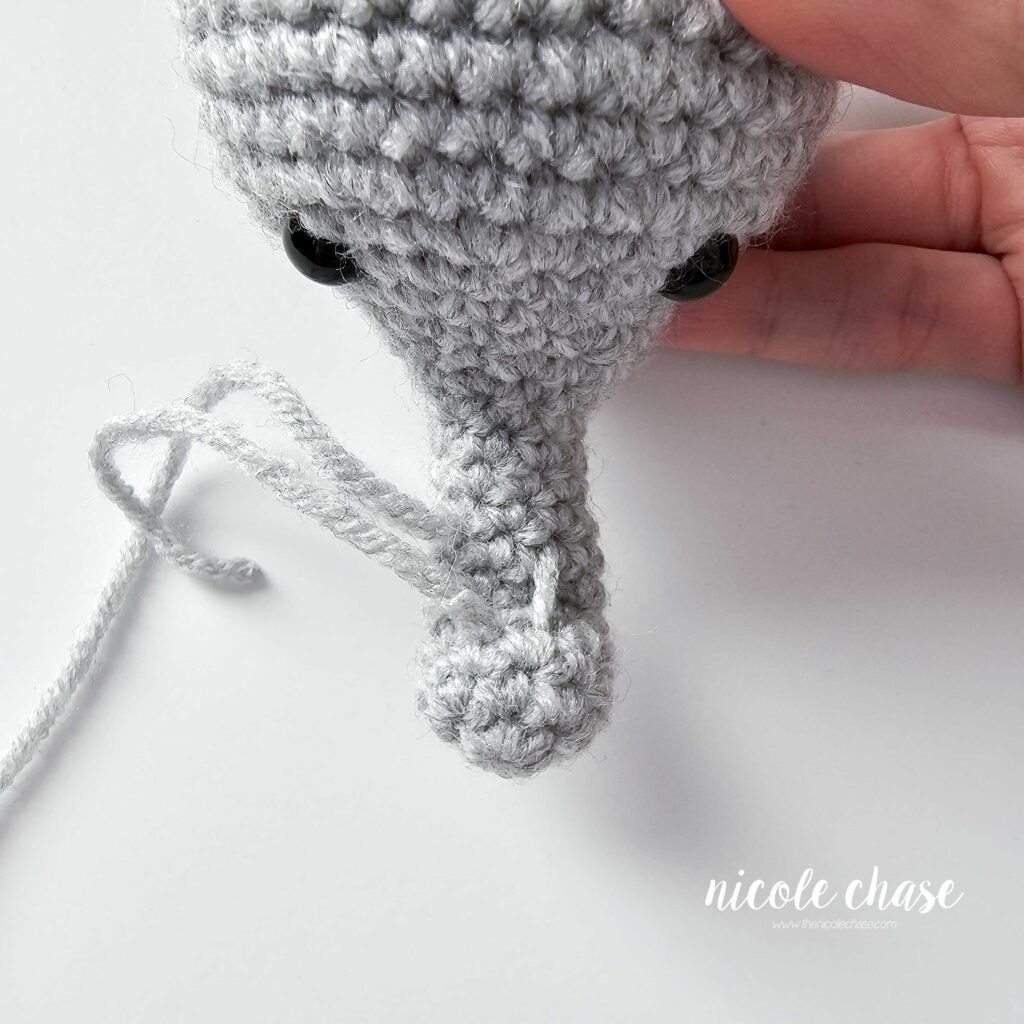
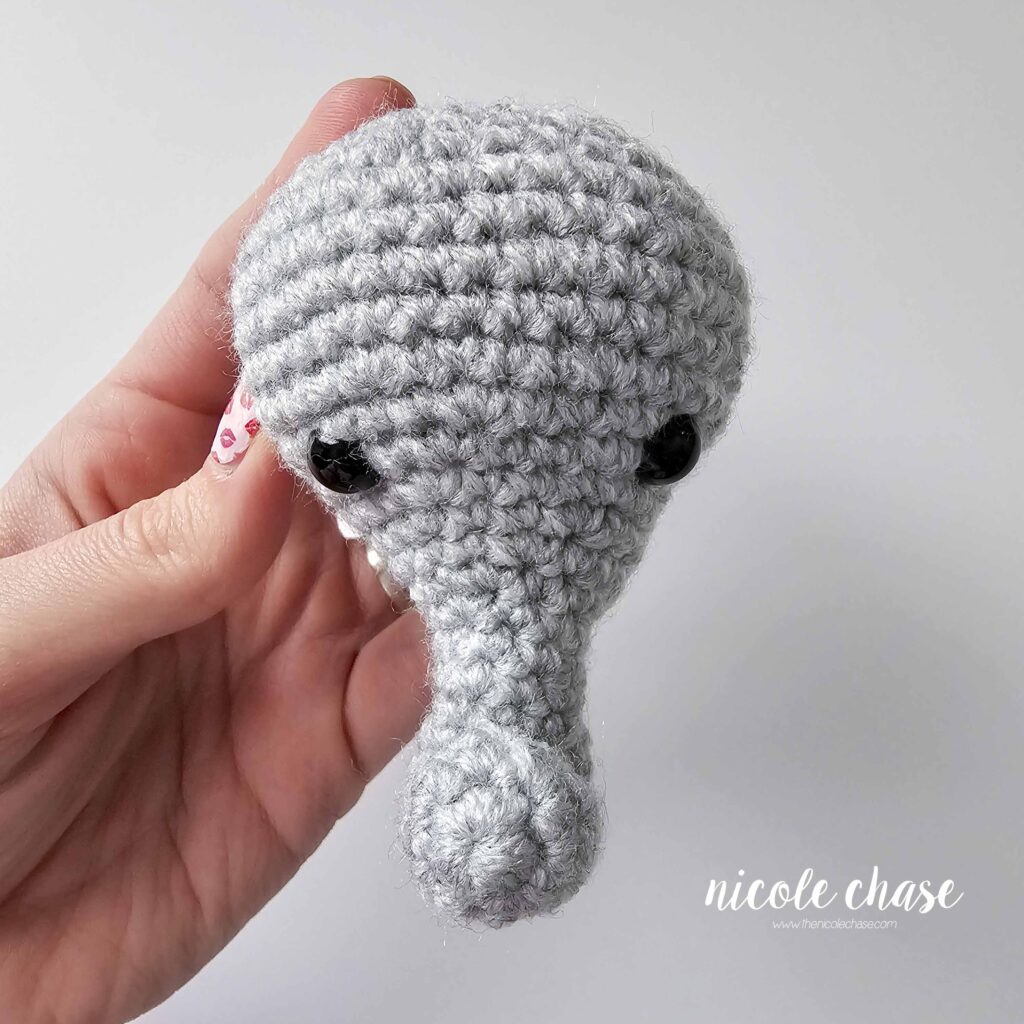
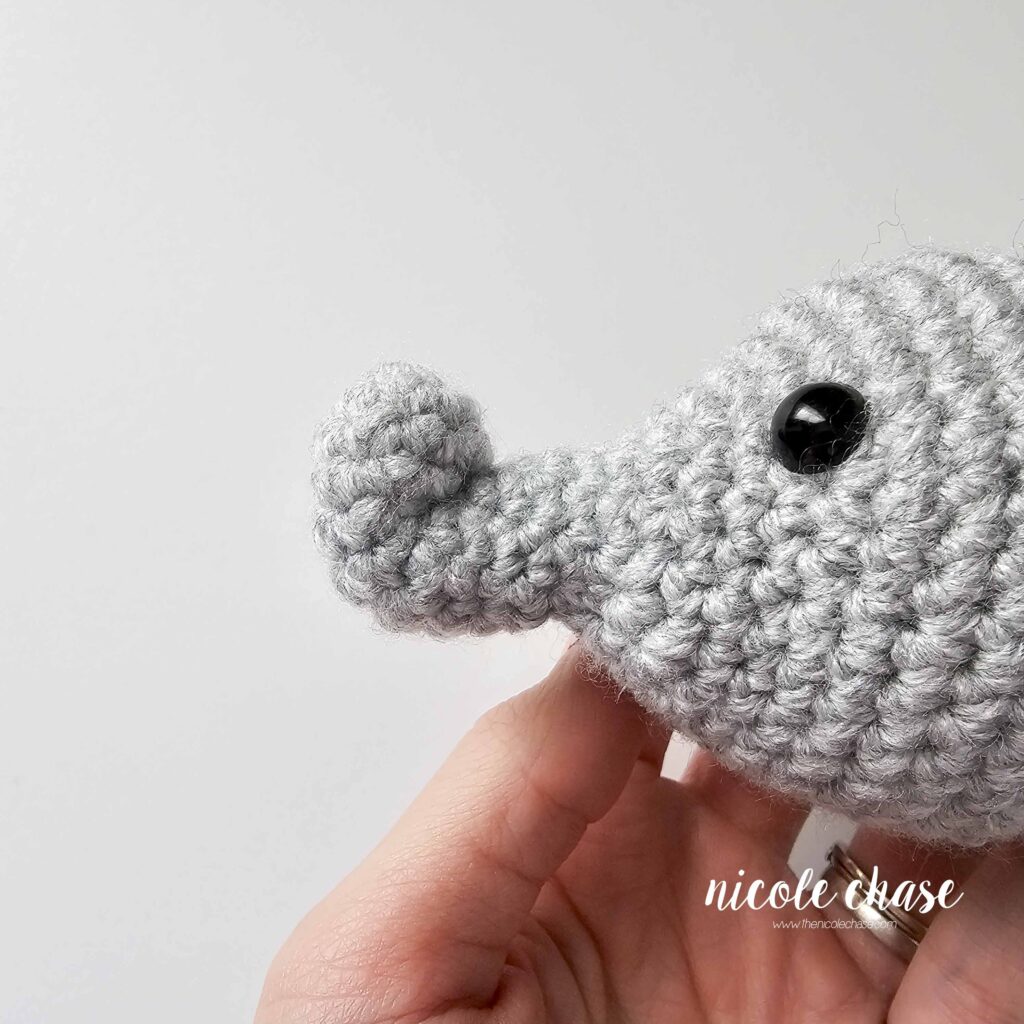
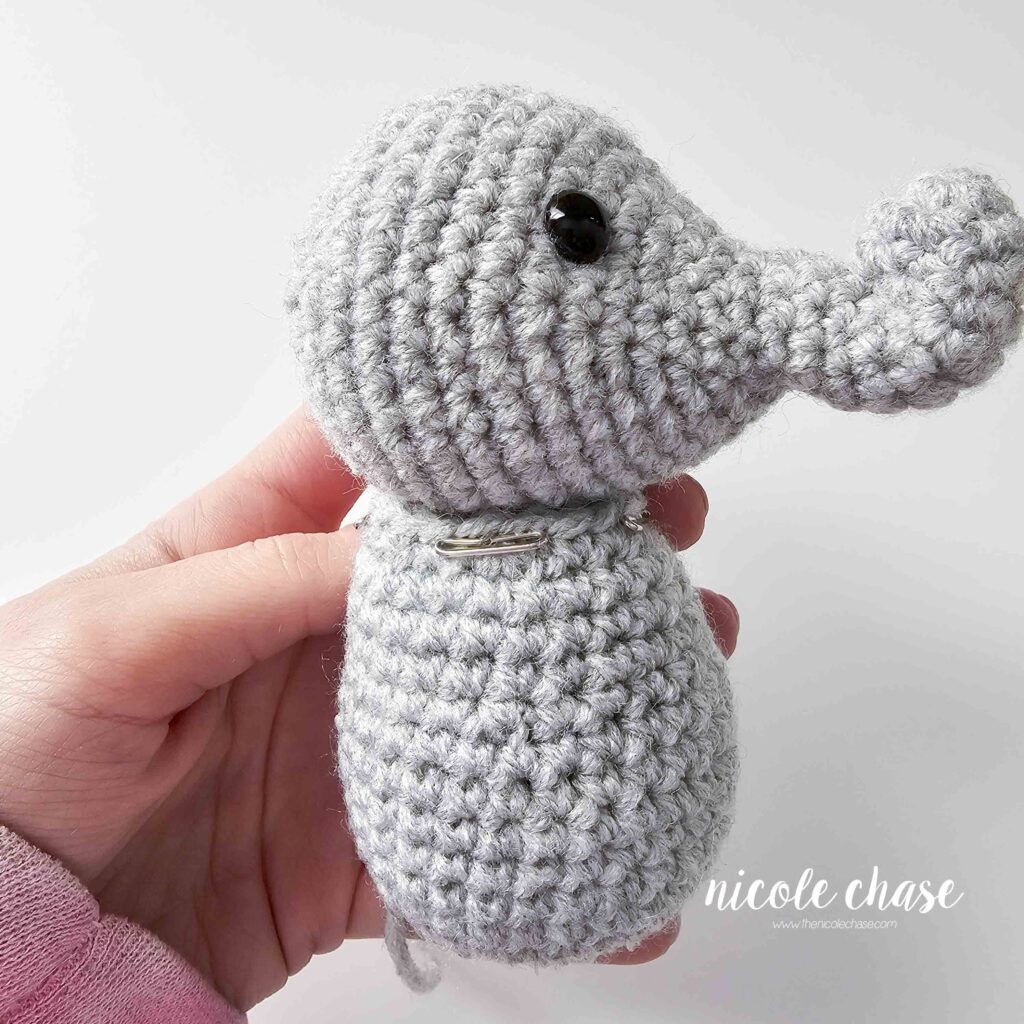
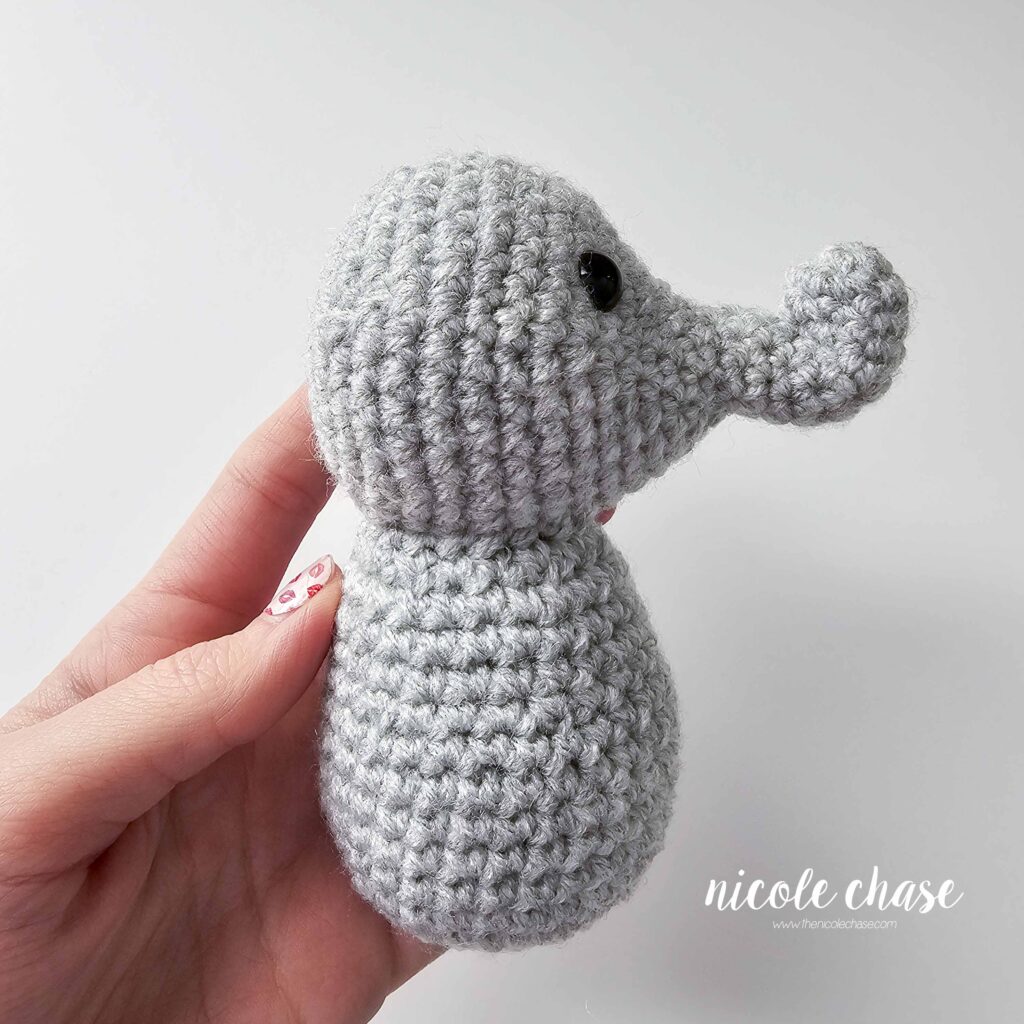
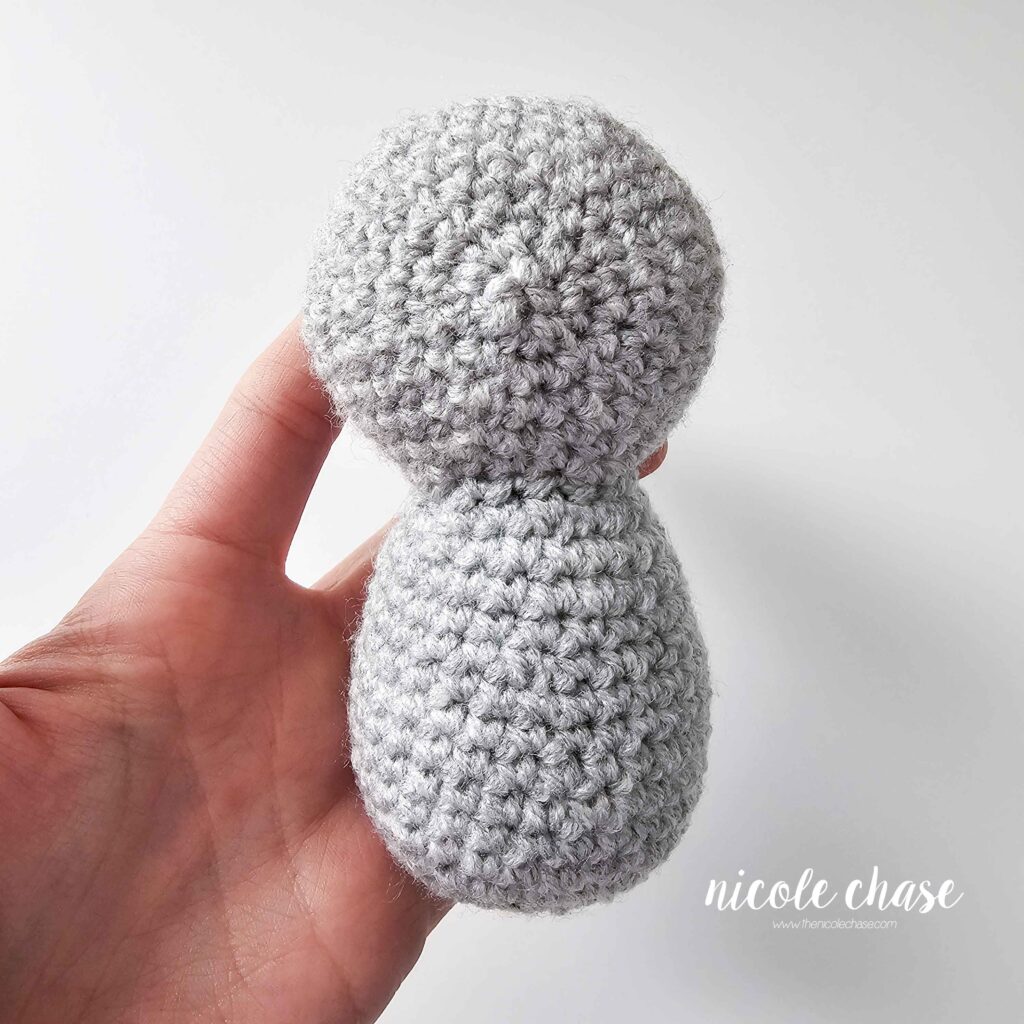
Attach head to body so trunk is facing out; attaching body to approximately R17-23 of the head.
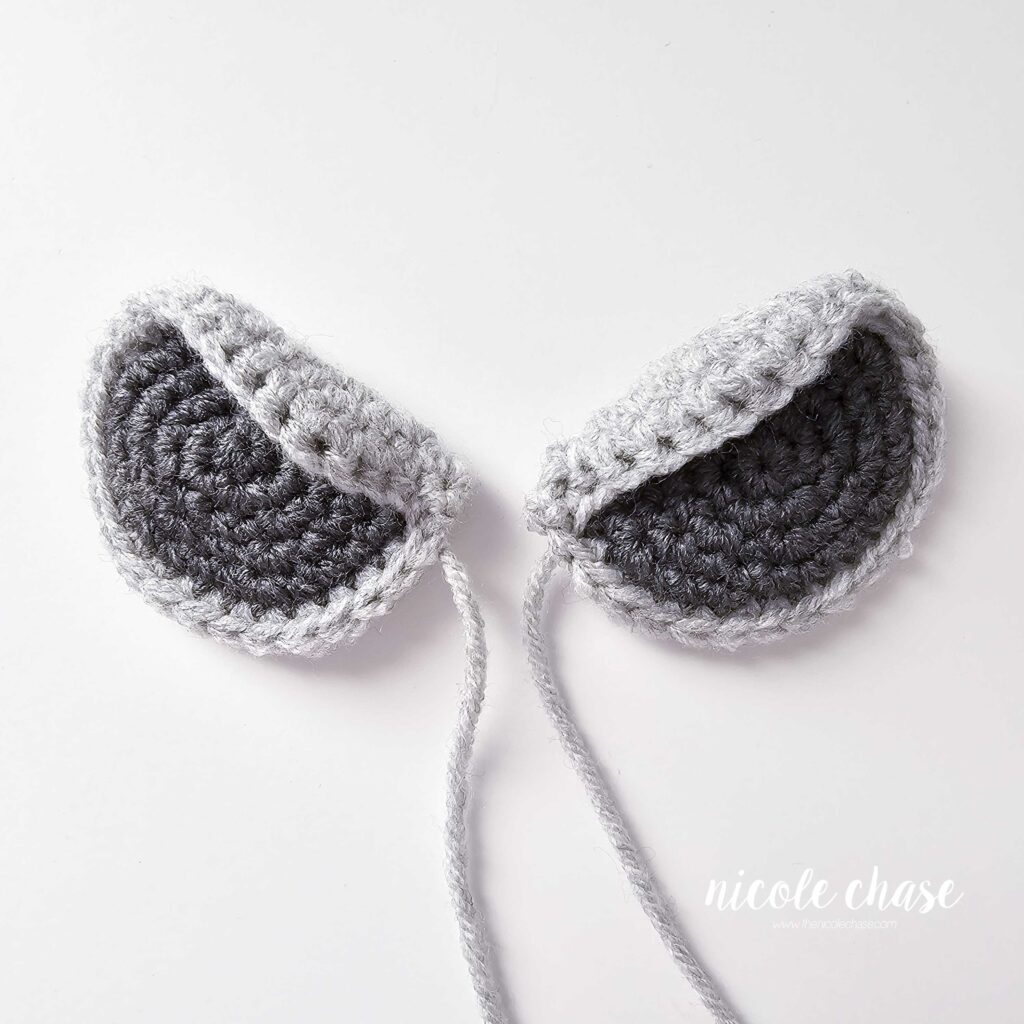
Fold down the top edge of each ear and sew. Attach each ear on either side of the back of the head so that the tips of the folded edge are about 2 sts apart. Secure the sides of the ear along each side of the tip created by the folded edge.
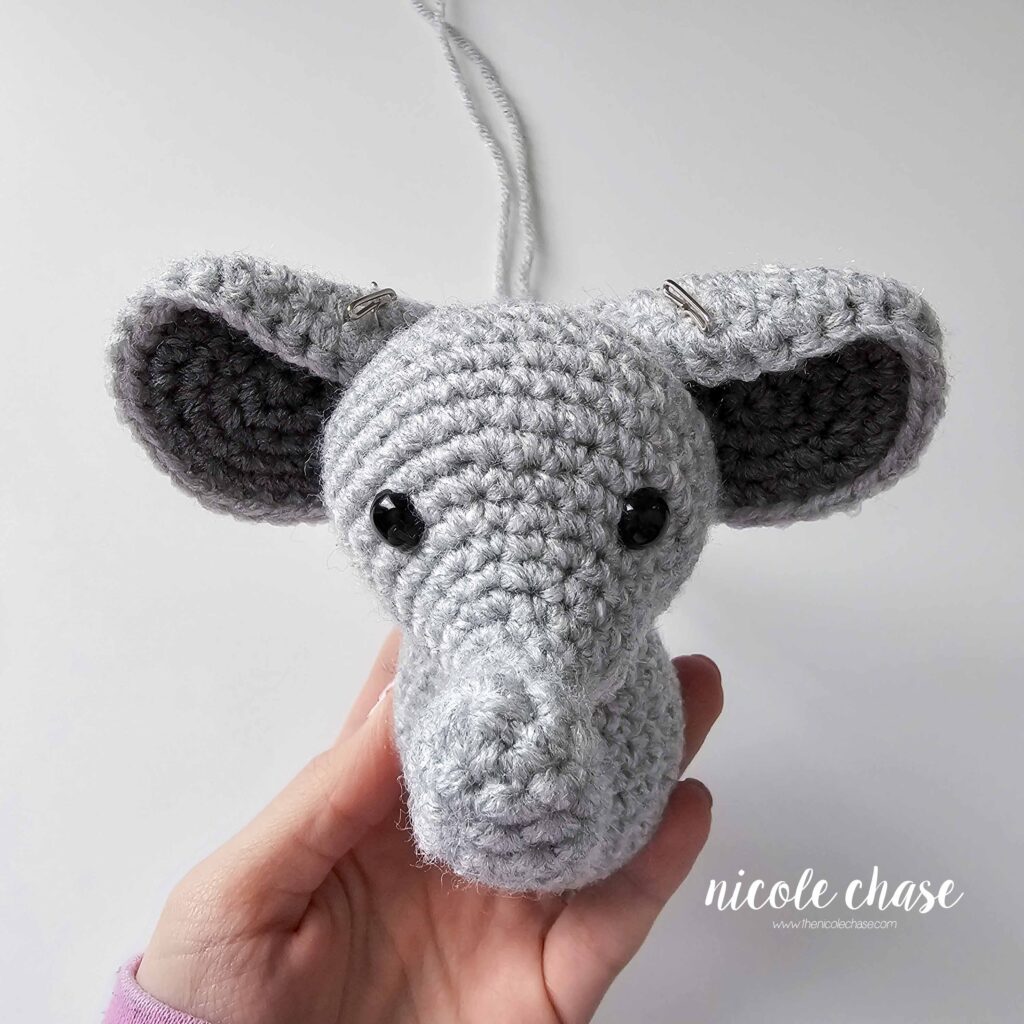
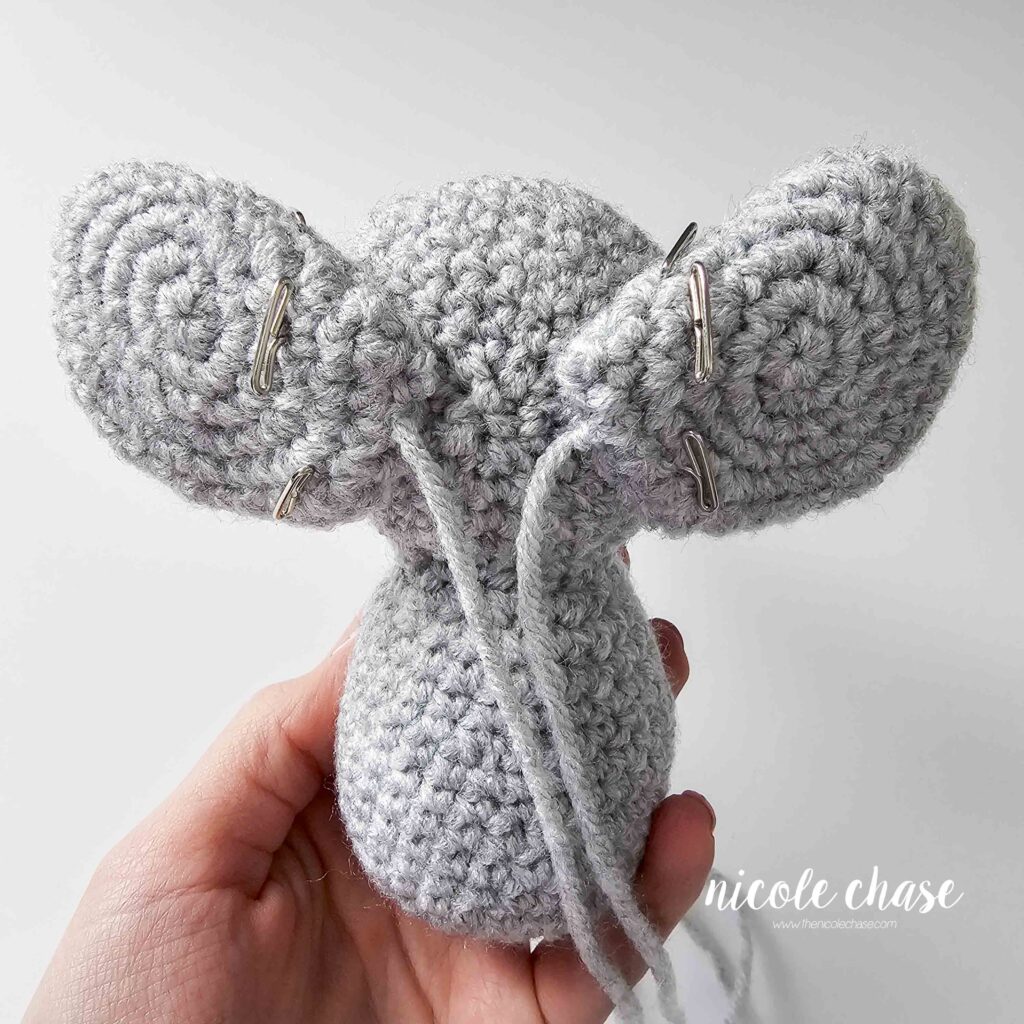
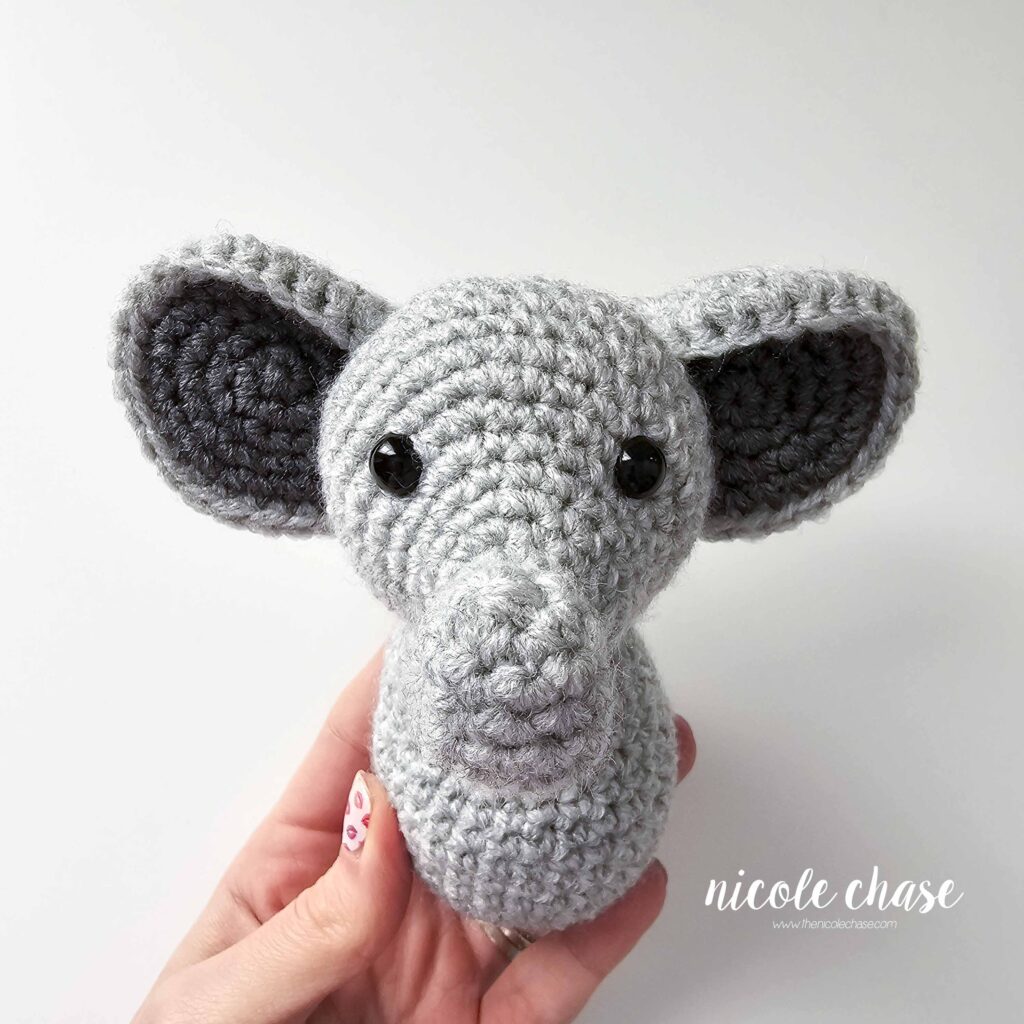
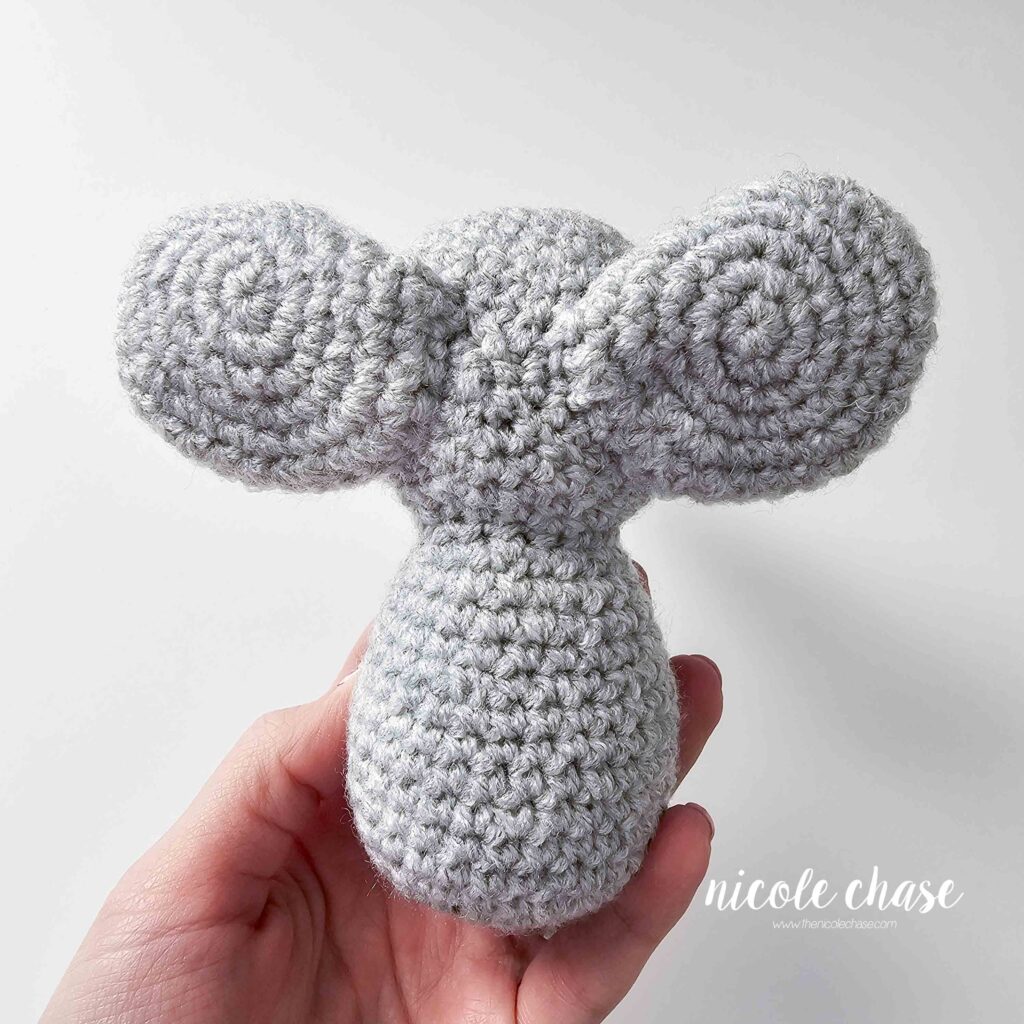
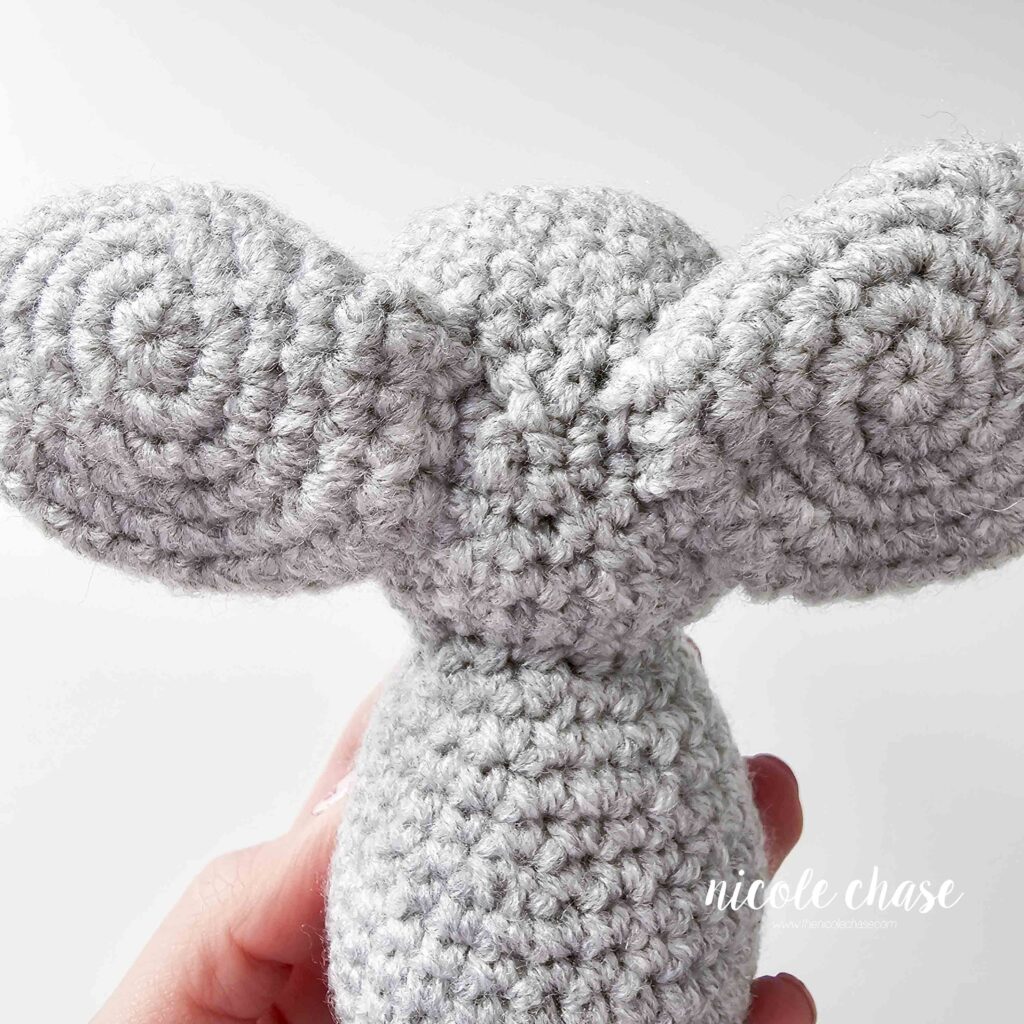
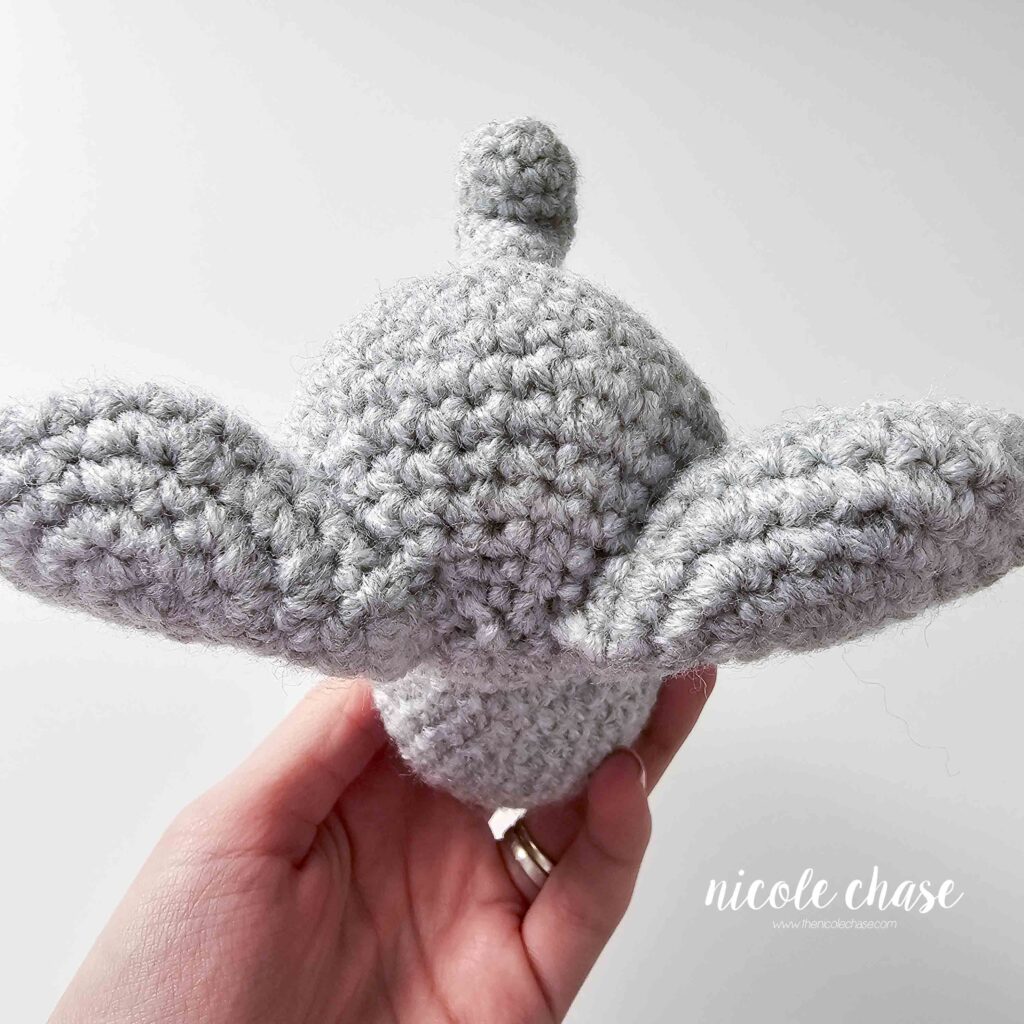
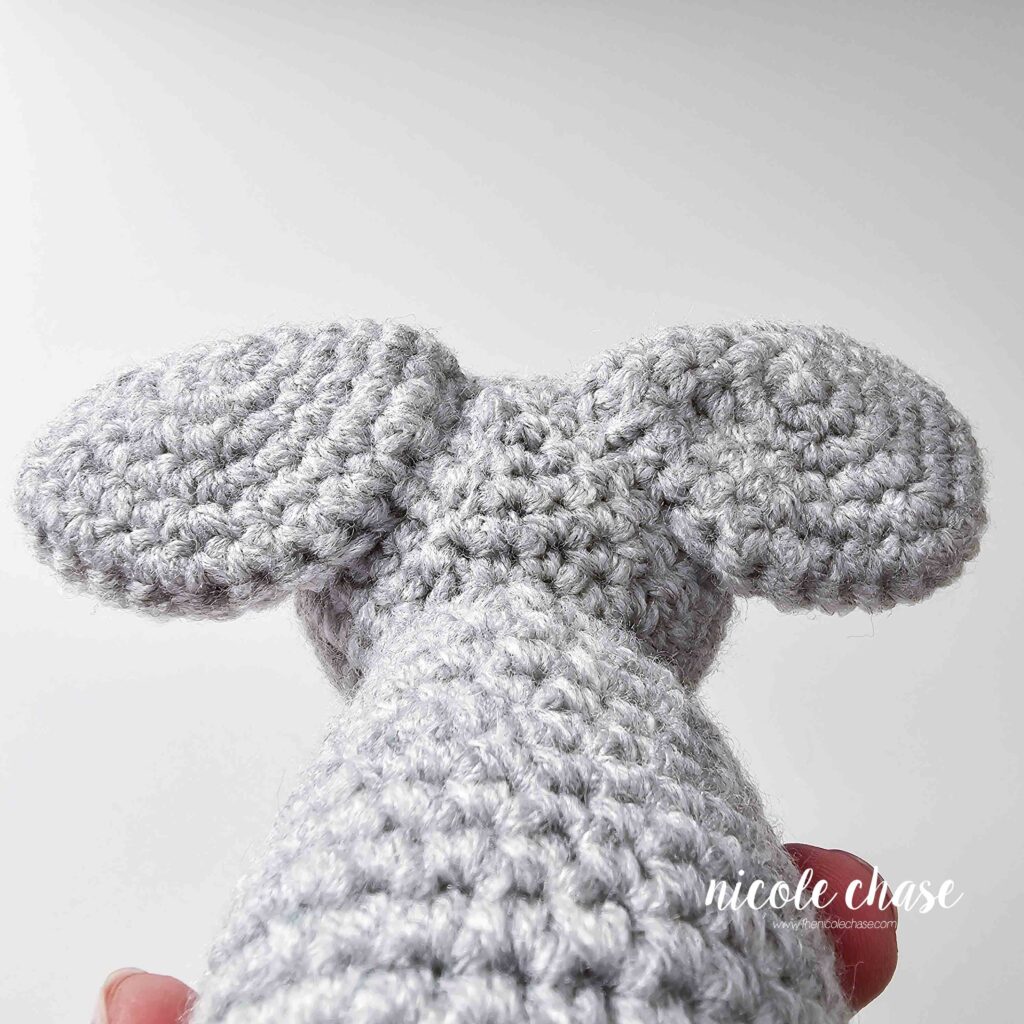
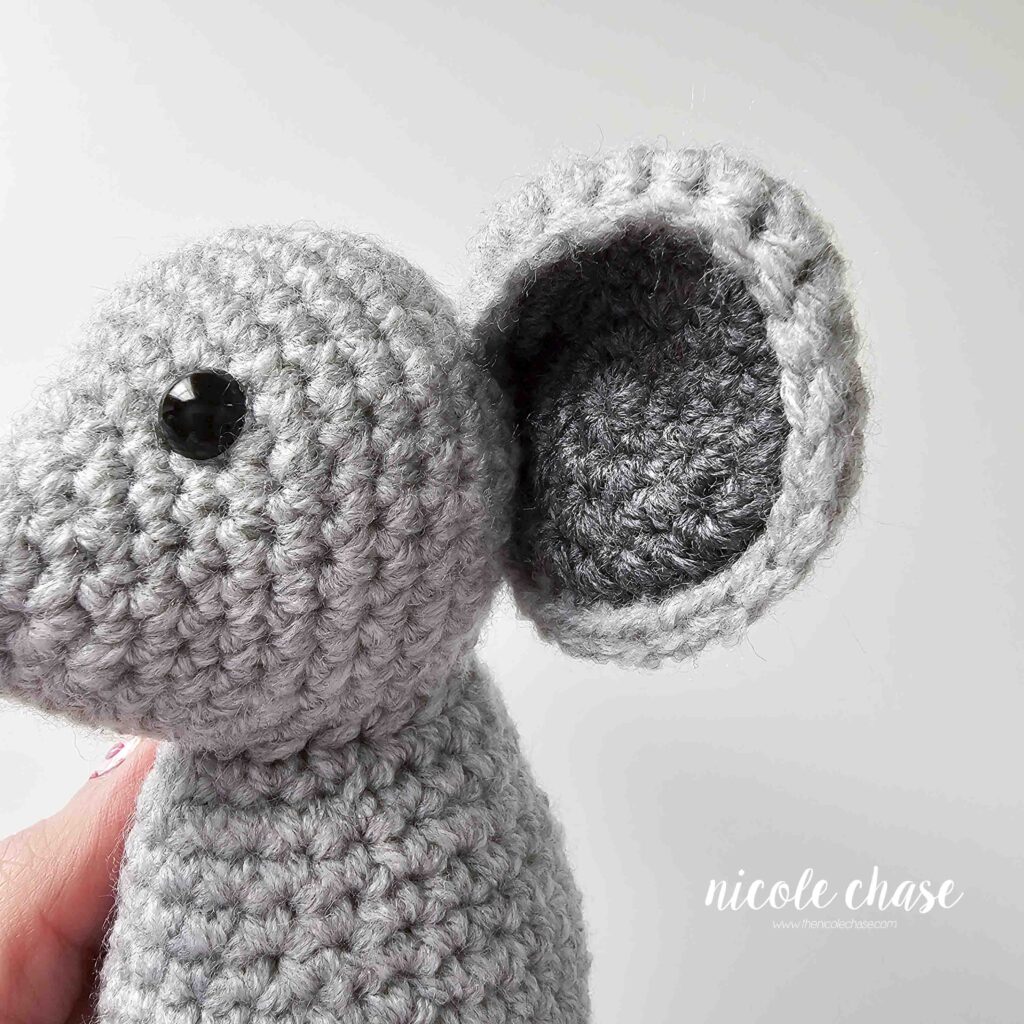
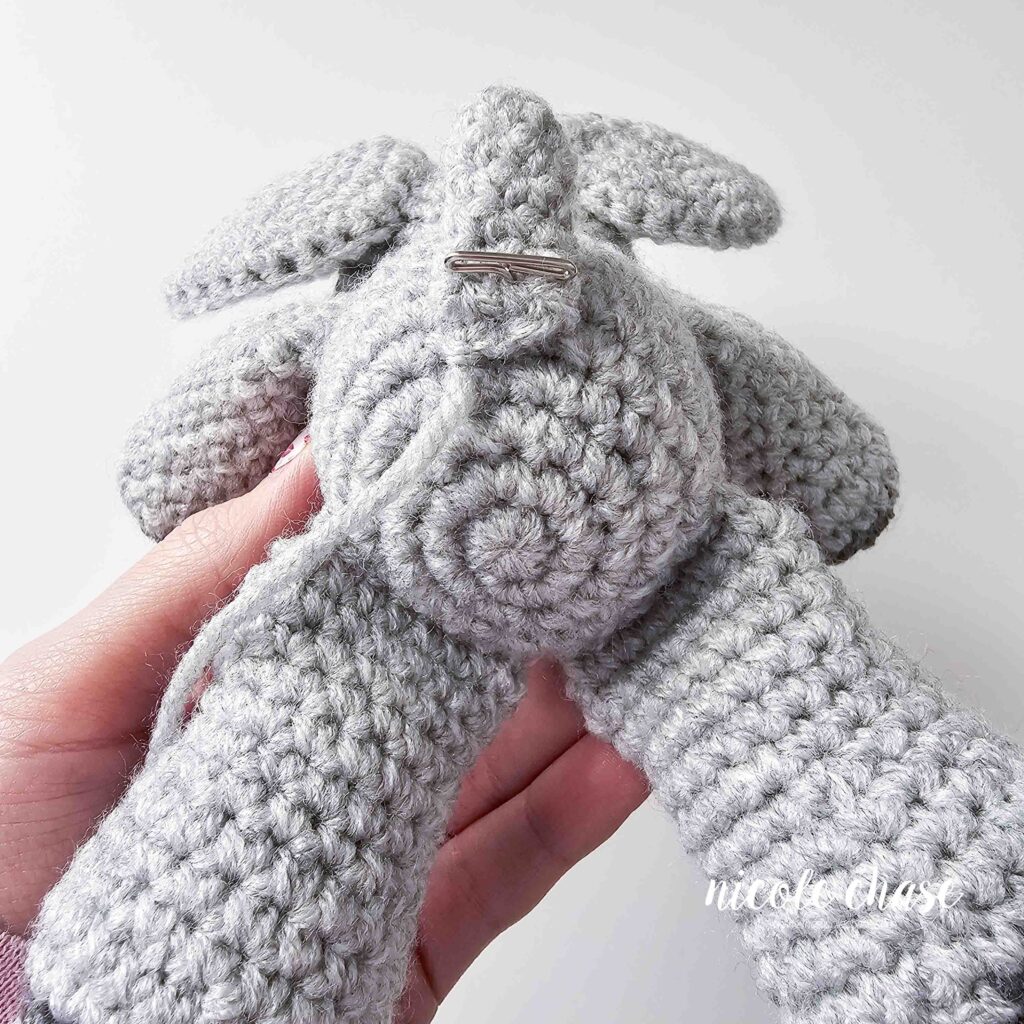
Attach legs between R5-6 of the body, with the inside of each leg touching in the middle.
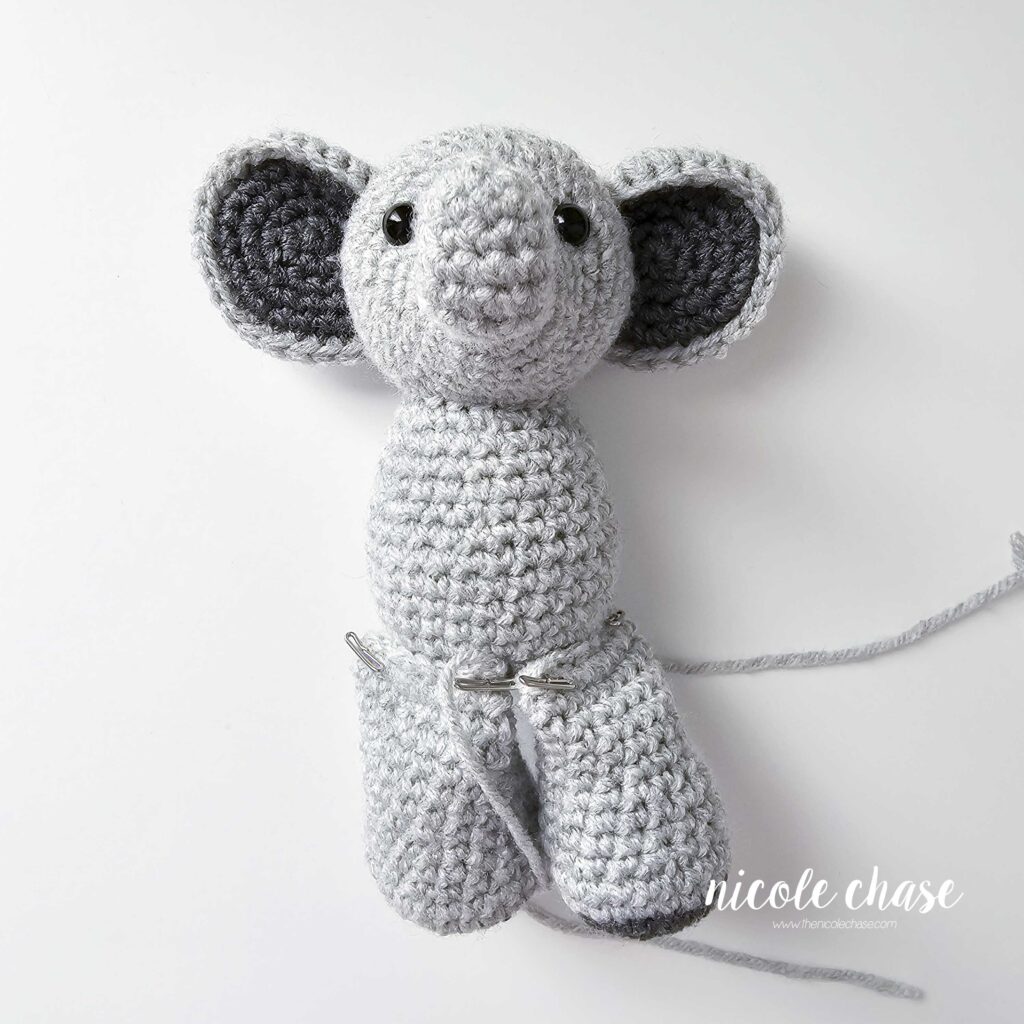
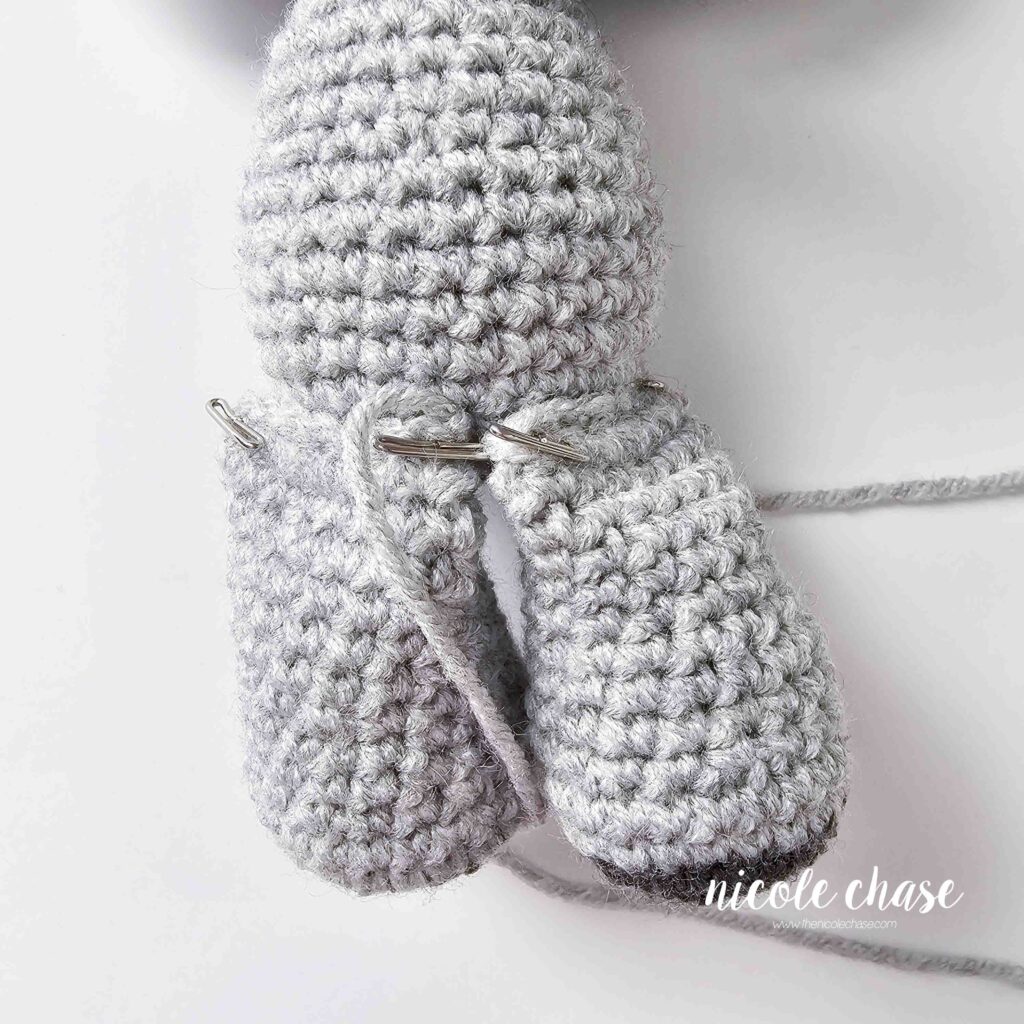
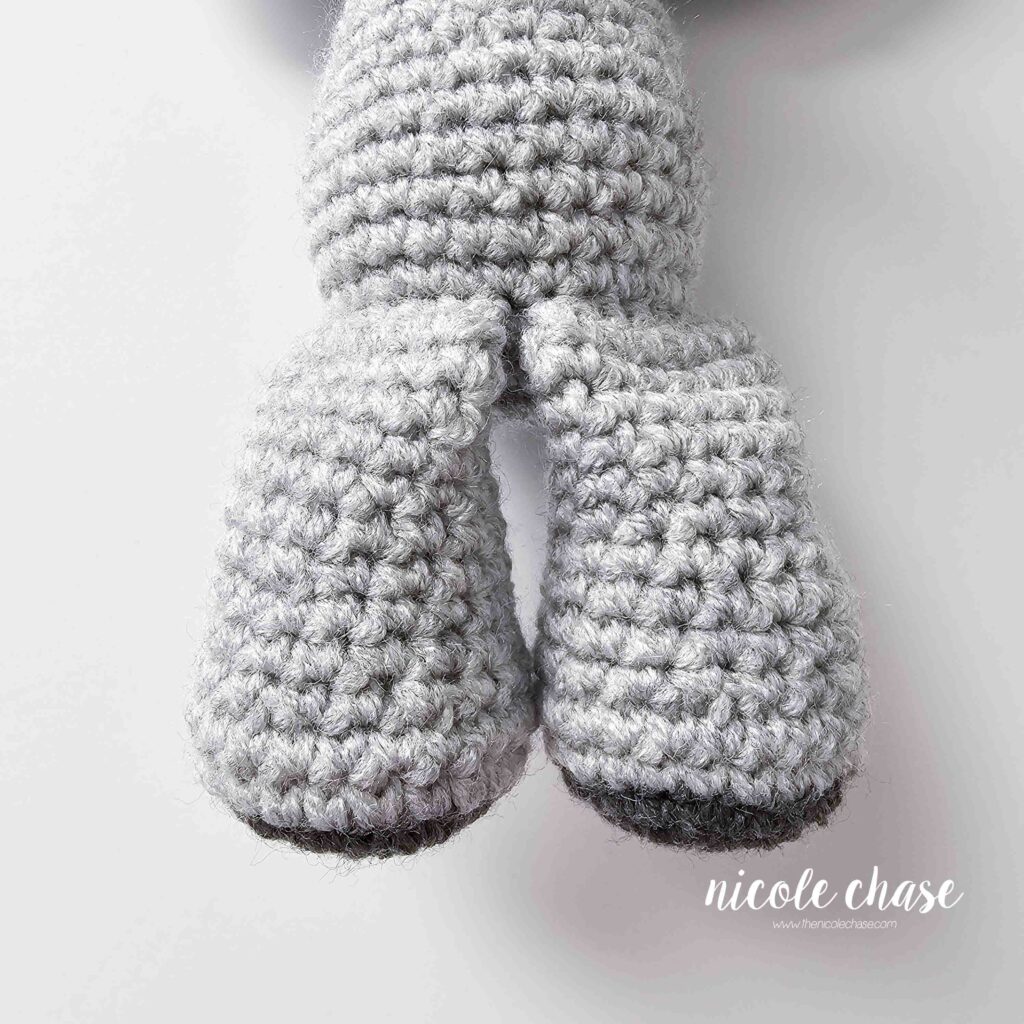
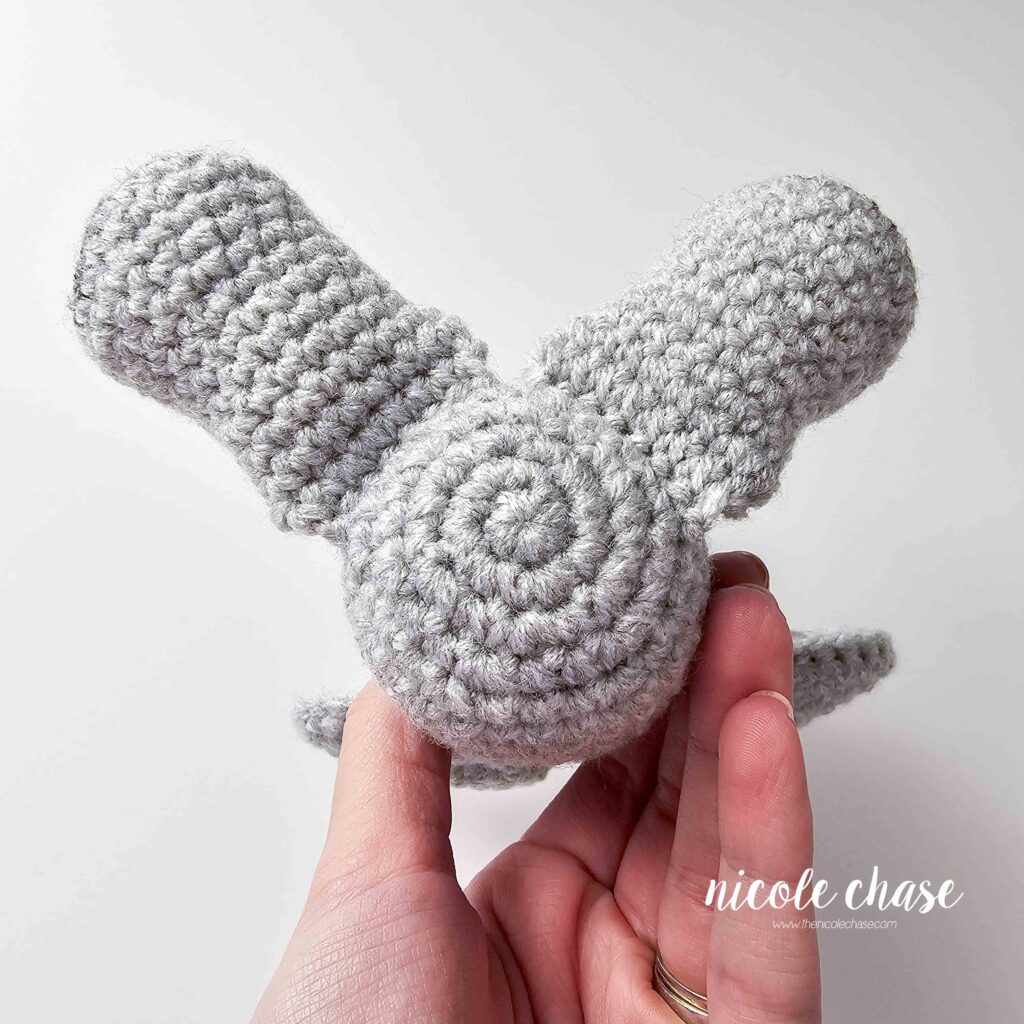
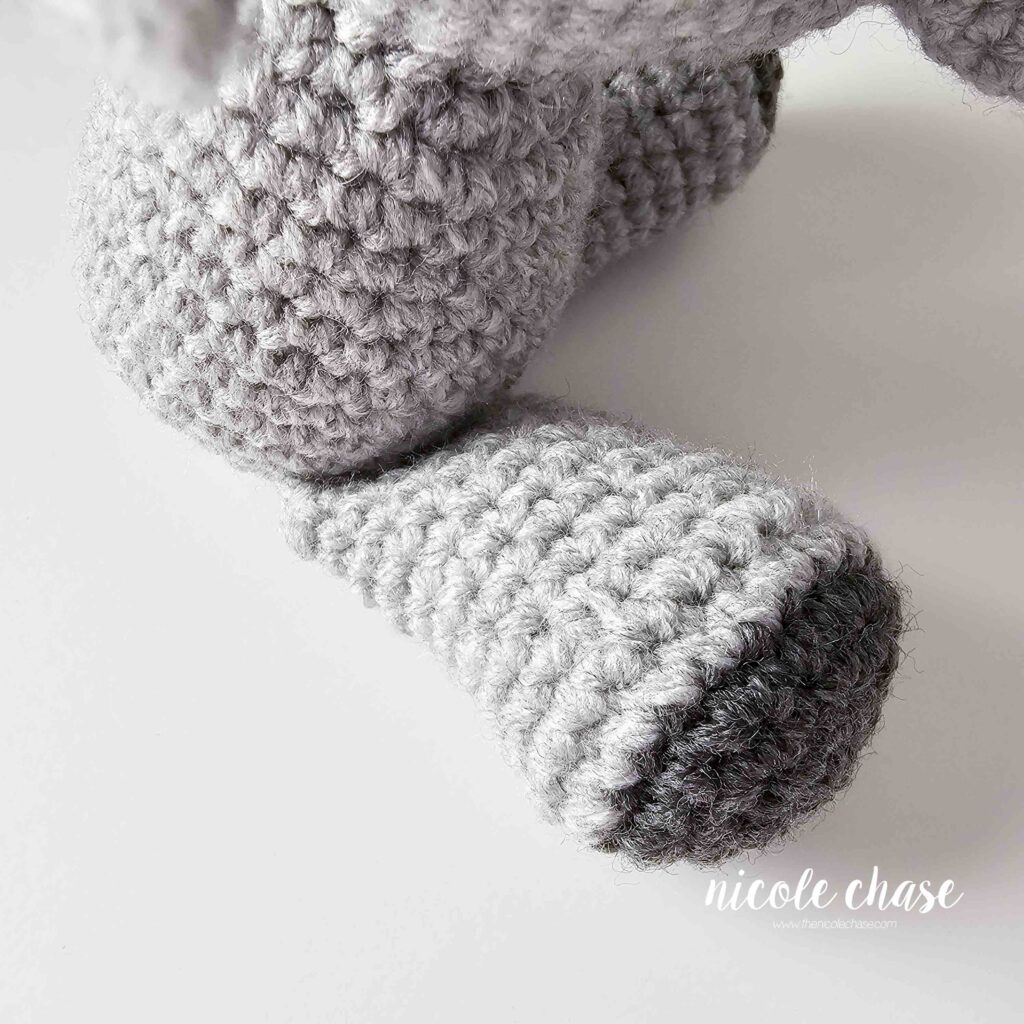
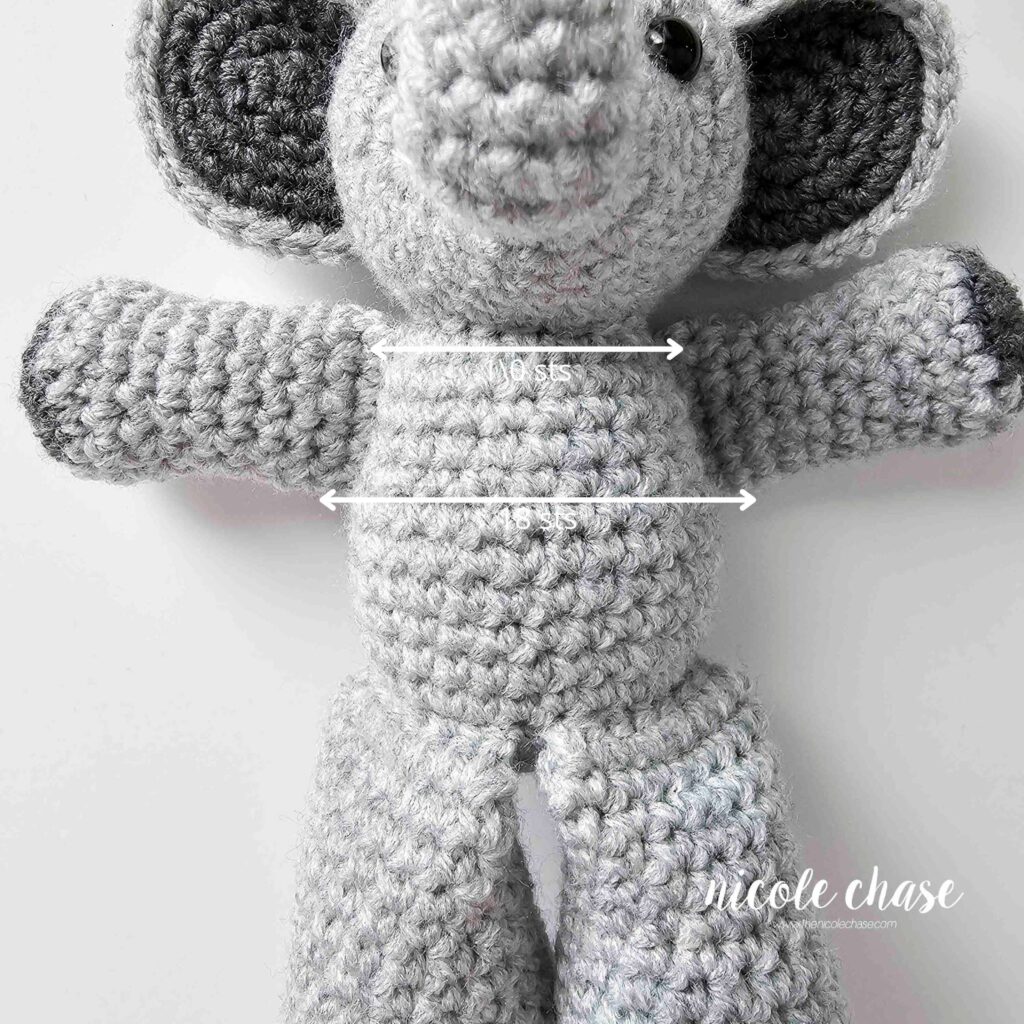
Attach arms over R11-16 on each side of the body. At the top of the arms, leave approximately 10 sts between each arm across the front of the body. At the bottom of the arms, leave approximately 18 sts between each arm across the front of the body.
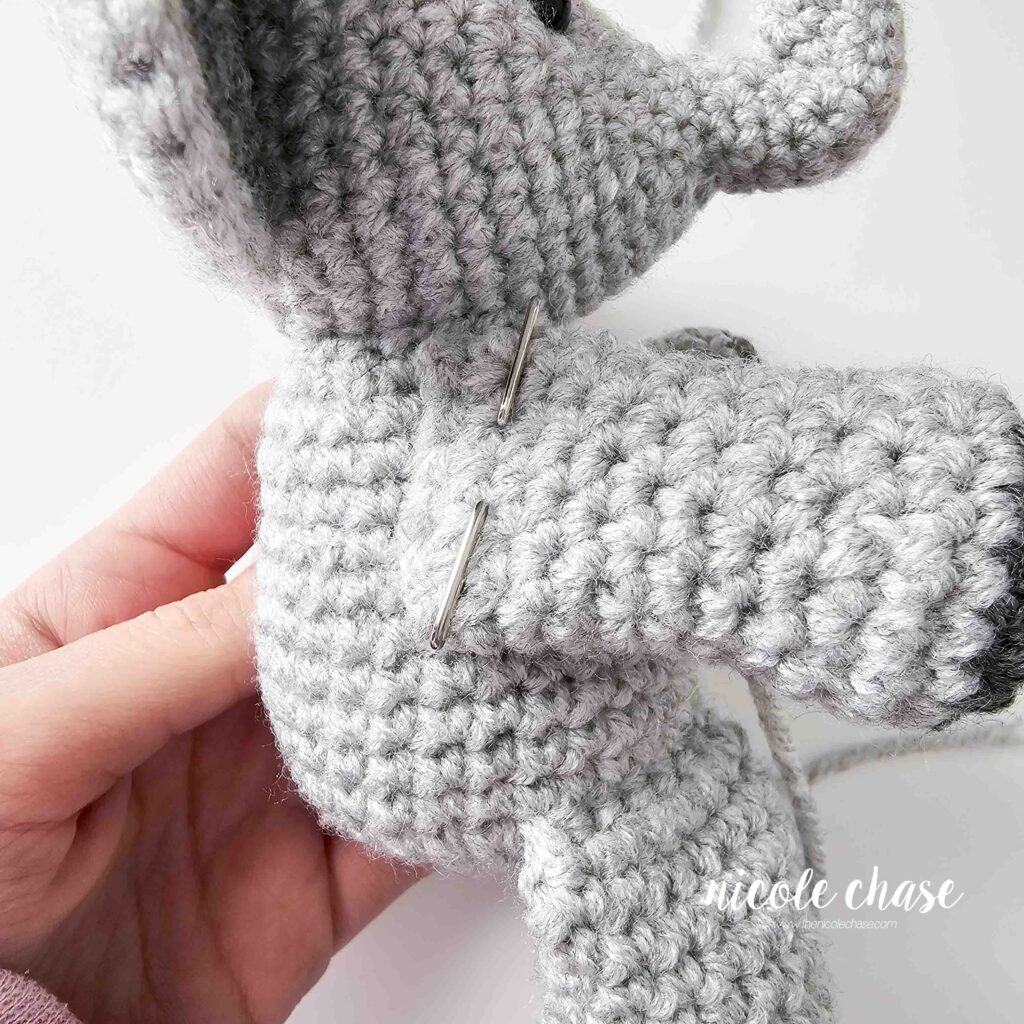
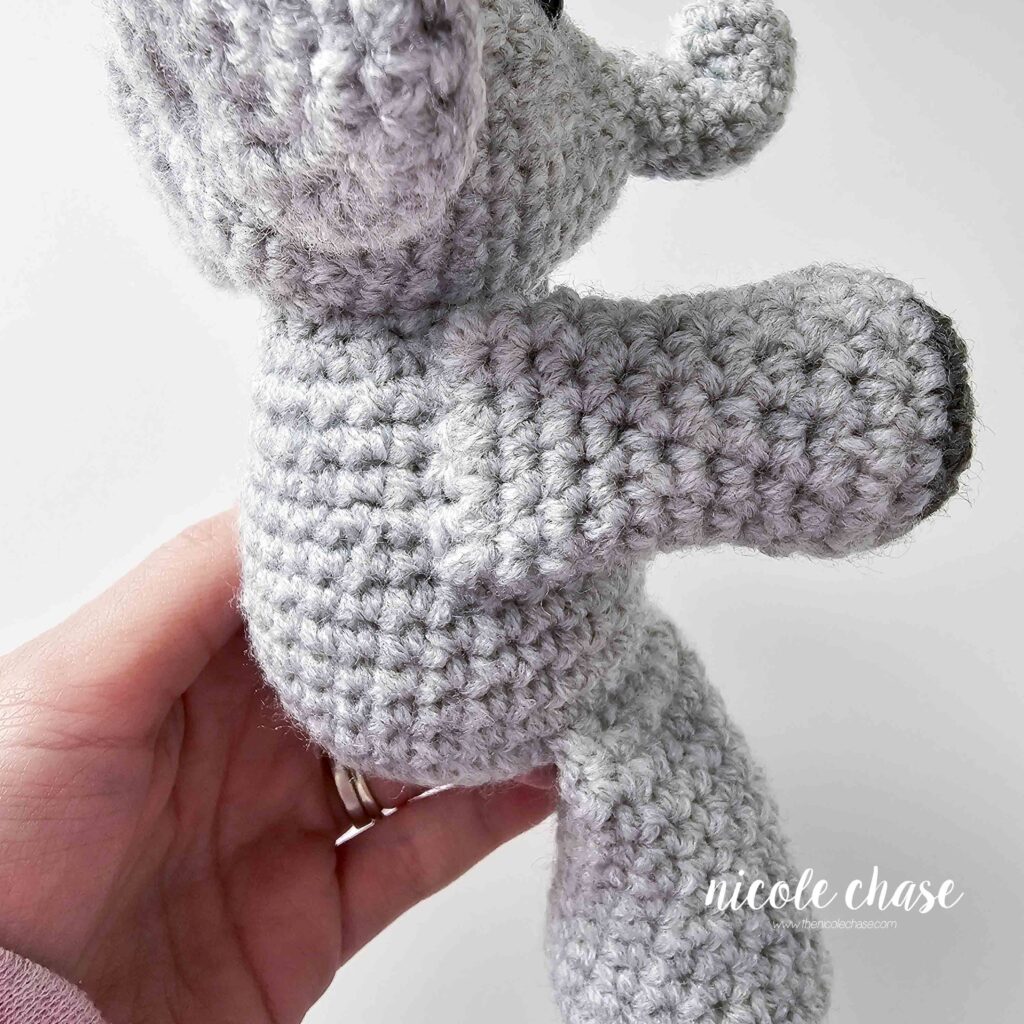
Embroider 3 nails on each leg, over R4-5, leaving about 2 sts between each nail.
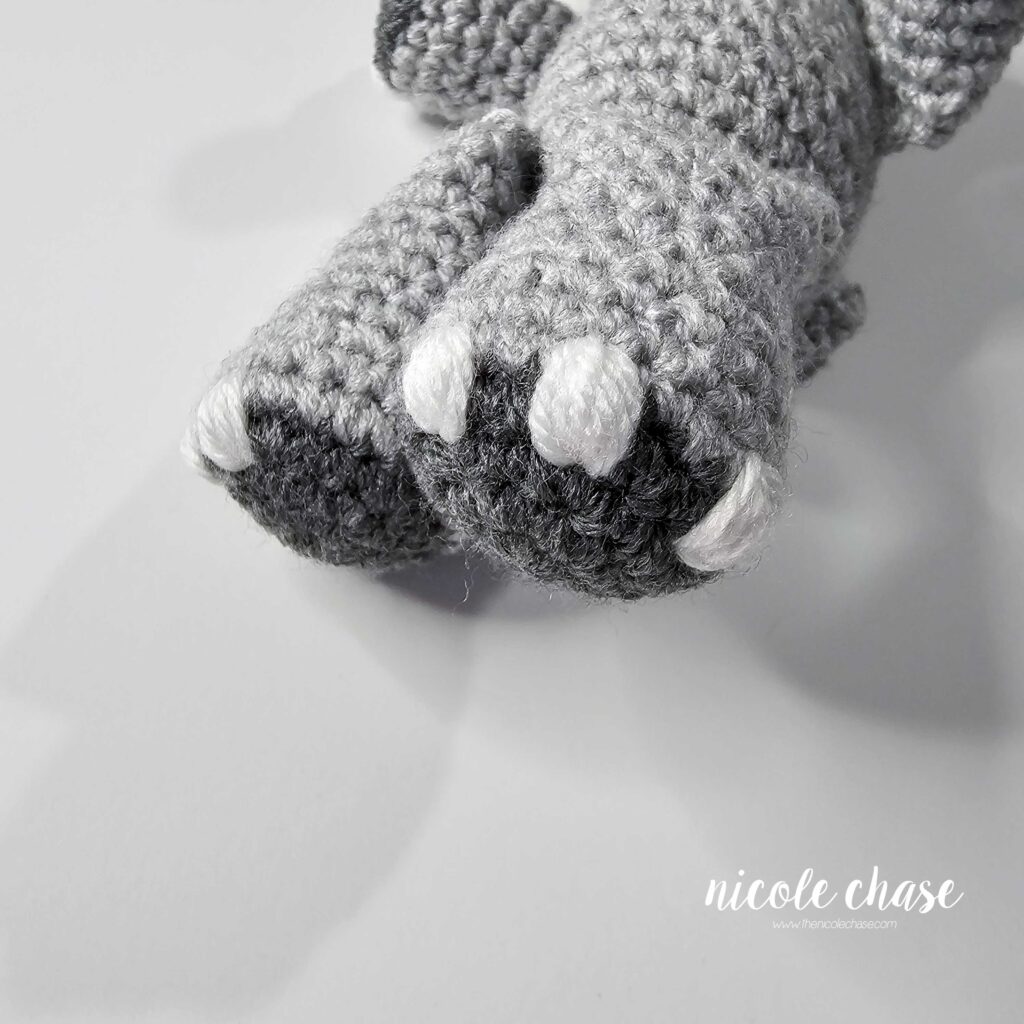
Embroider 3 nails on each arm, over R3-4, leaving about 2 sts between each nail.
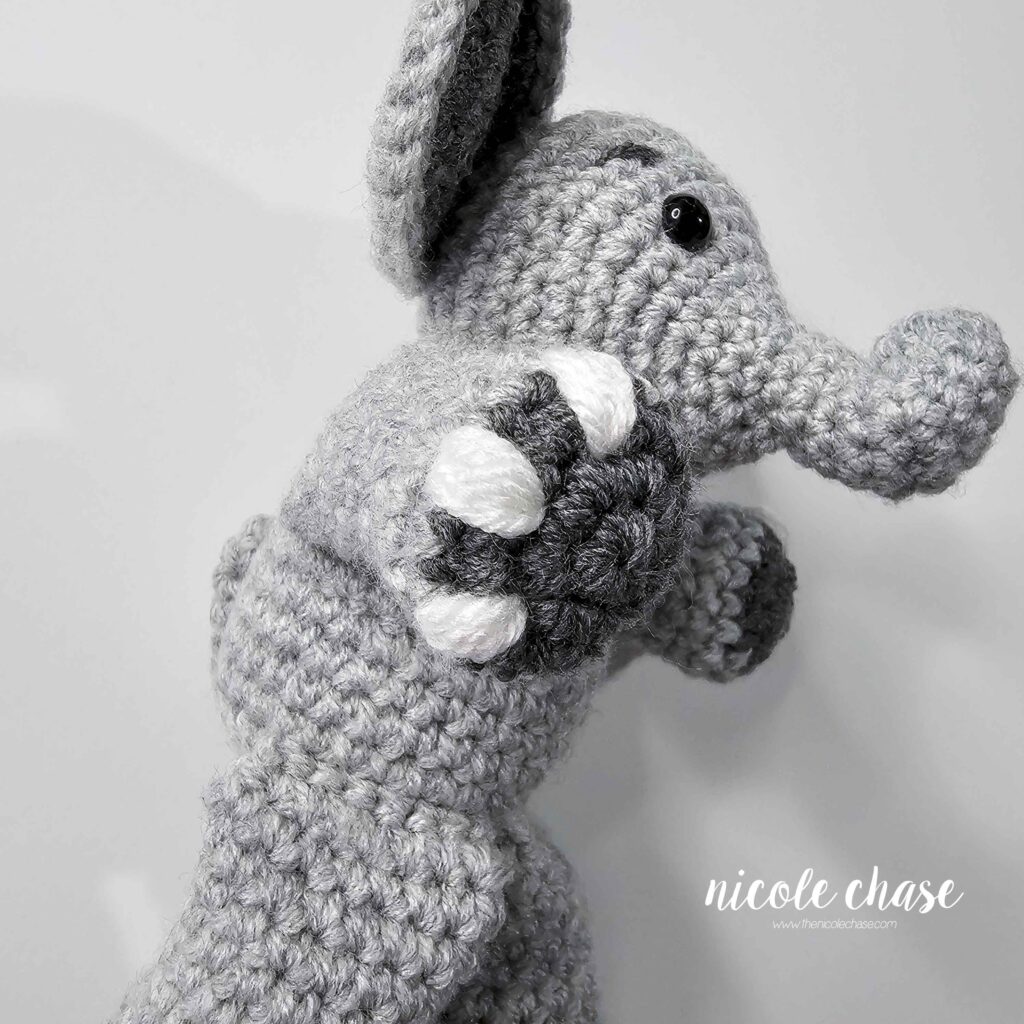
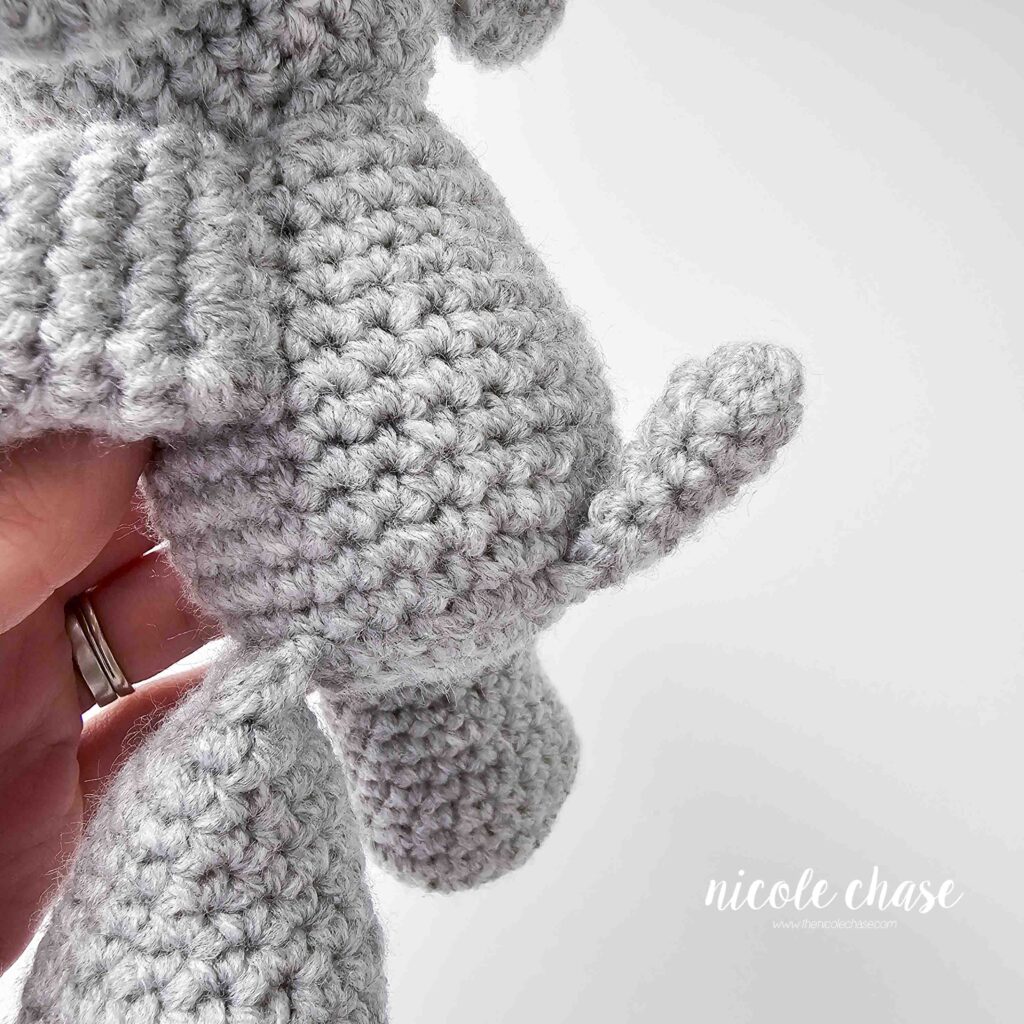
Embroider eyebrows over 2-3 sts, approximately 2 rows above each eye. Attach tail between R4-5 of the back of the body.
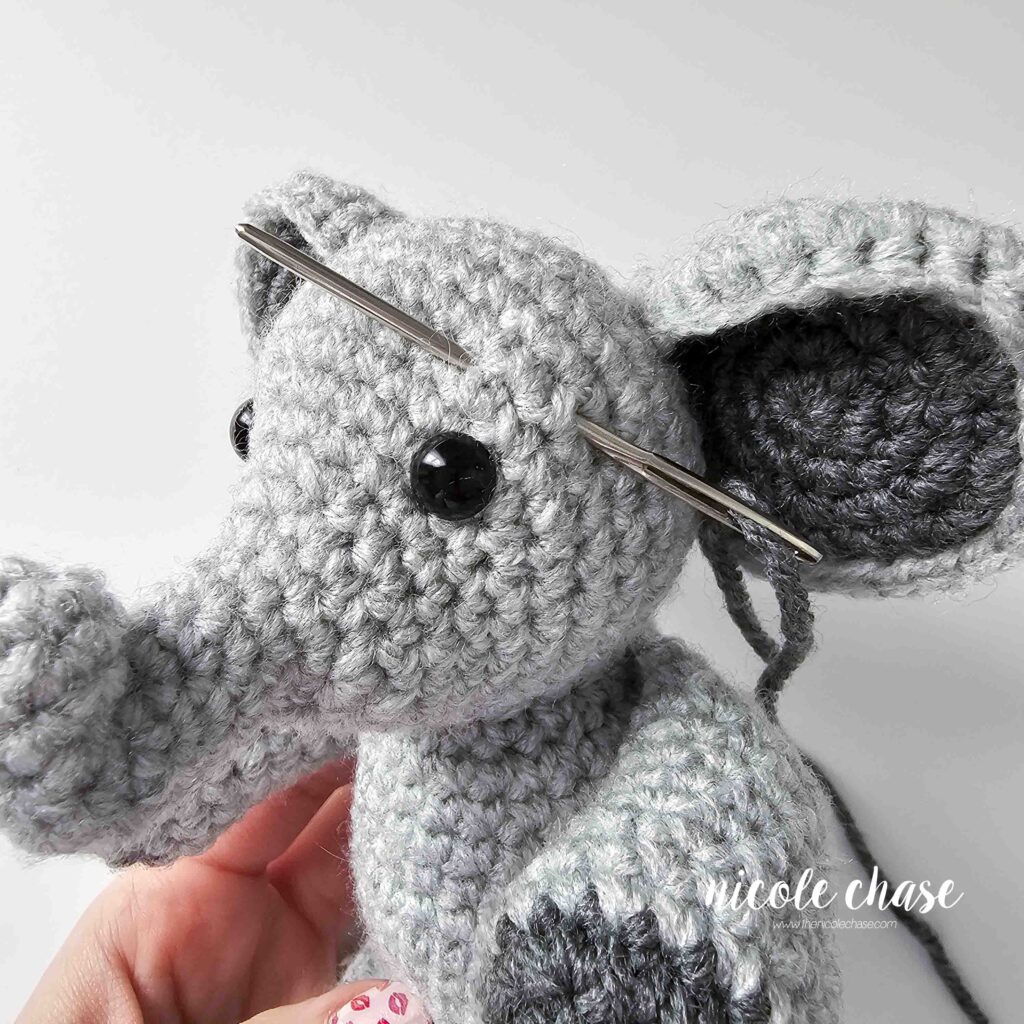
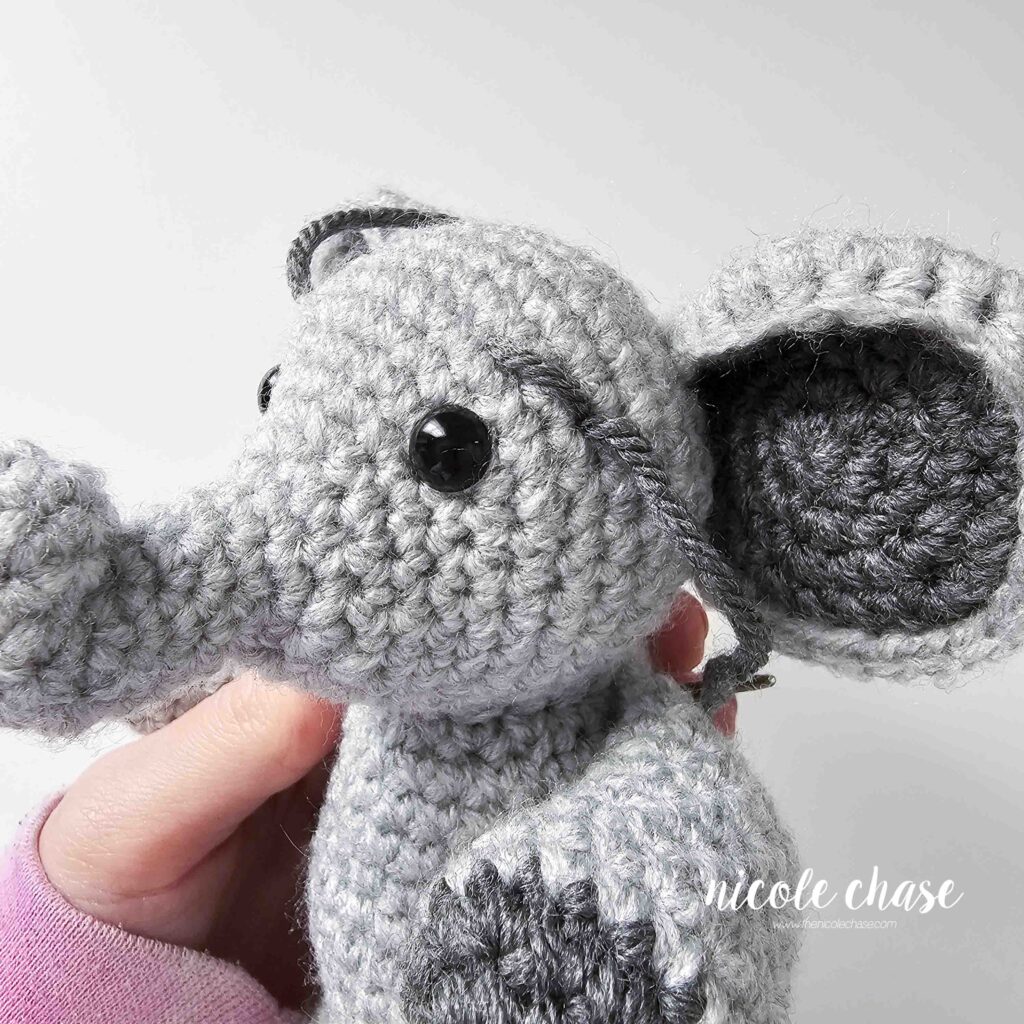
Attach tail between R4-5 of the back of the body.
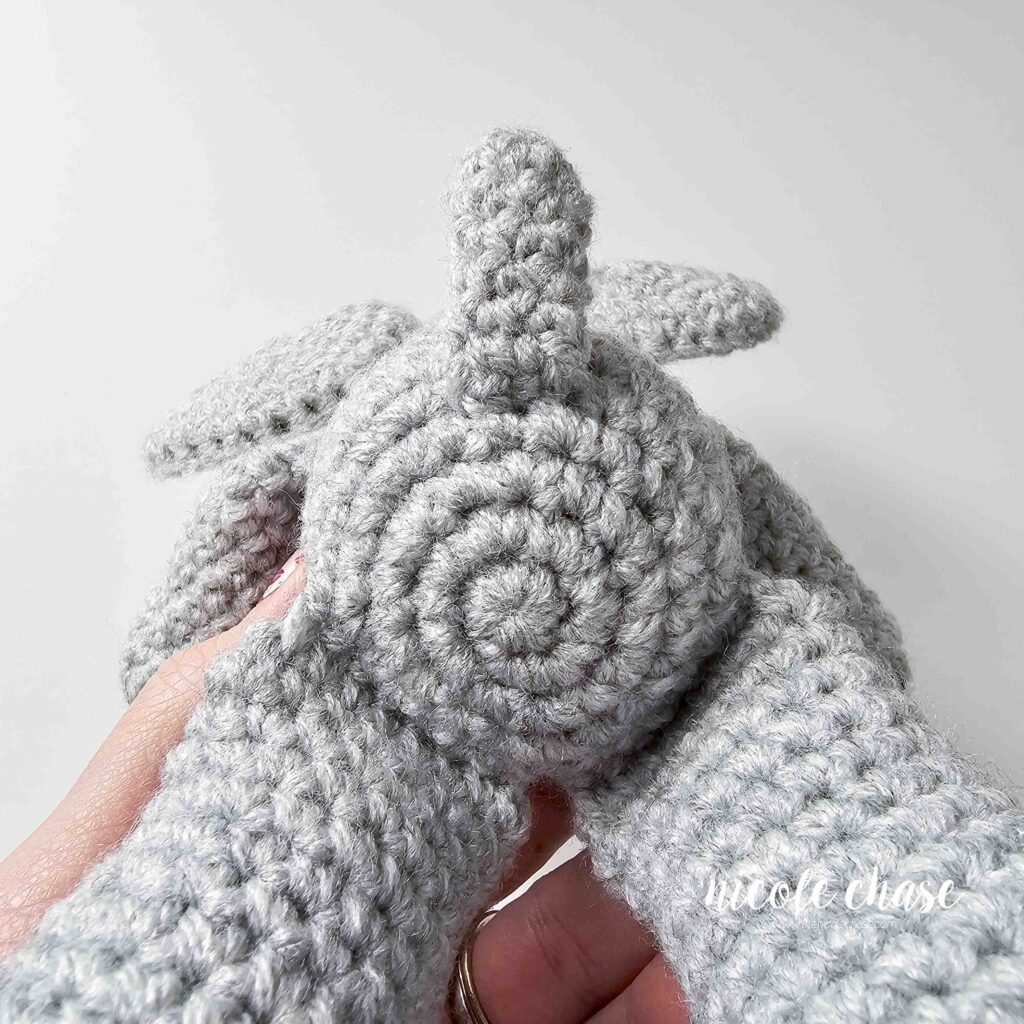
I hope you enjoyed this free elephant crochet pattern! If you are looking for more fun amigurumi patterns after this crochet elephant, check out my collection of amigurumi patterns!
Ad-Free PDF Pattern for Elliot the Elephant
Tips & Tricks
- The invisible decrease technique can ensure that your SC2tog stitches blend in with your single crochet stitches on this crochet elephant.
- Use a stitch marker when working in continuous rounds in this free elephant crochet pattern.
Alterations
- To create a larger crochet elephant, use a chunky yarn like Parfait Chunky.
- Add embroidered eyelashes for a more feminine crochet elephant.
- If you’re making this free elephant crochet pattern for a baby, use embroidered eyes. Find embroidery tutorials on this amigurumi embroidery post.
More Free Animal Amigurumi Crochet Patterns
I hope that you enjoyed this free elephant crochet pattern! After you make this crochet elephant, check out my other free amigurumi patterns like my farm animal collection and dinosaur collection.
